Core App Concepts
Performing an Inspection
Inspection
From the Home screen tap the New Inspection button
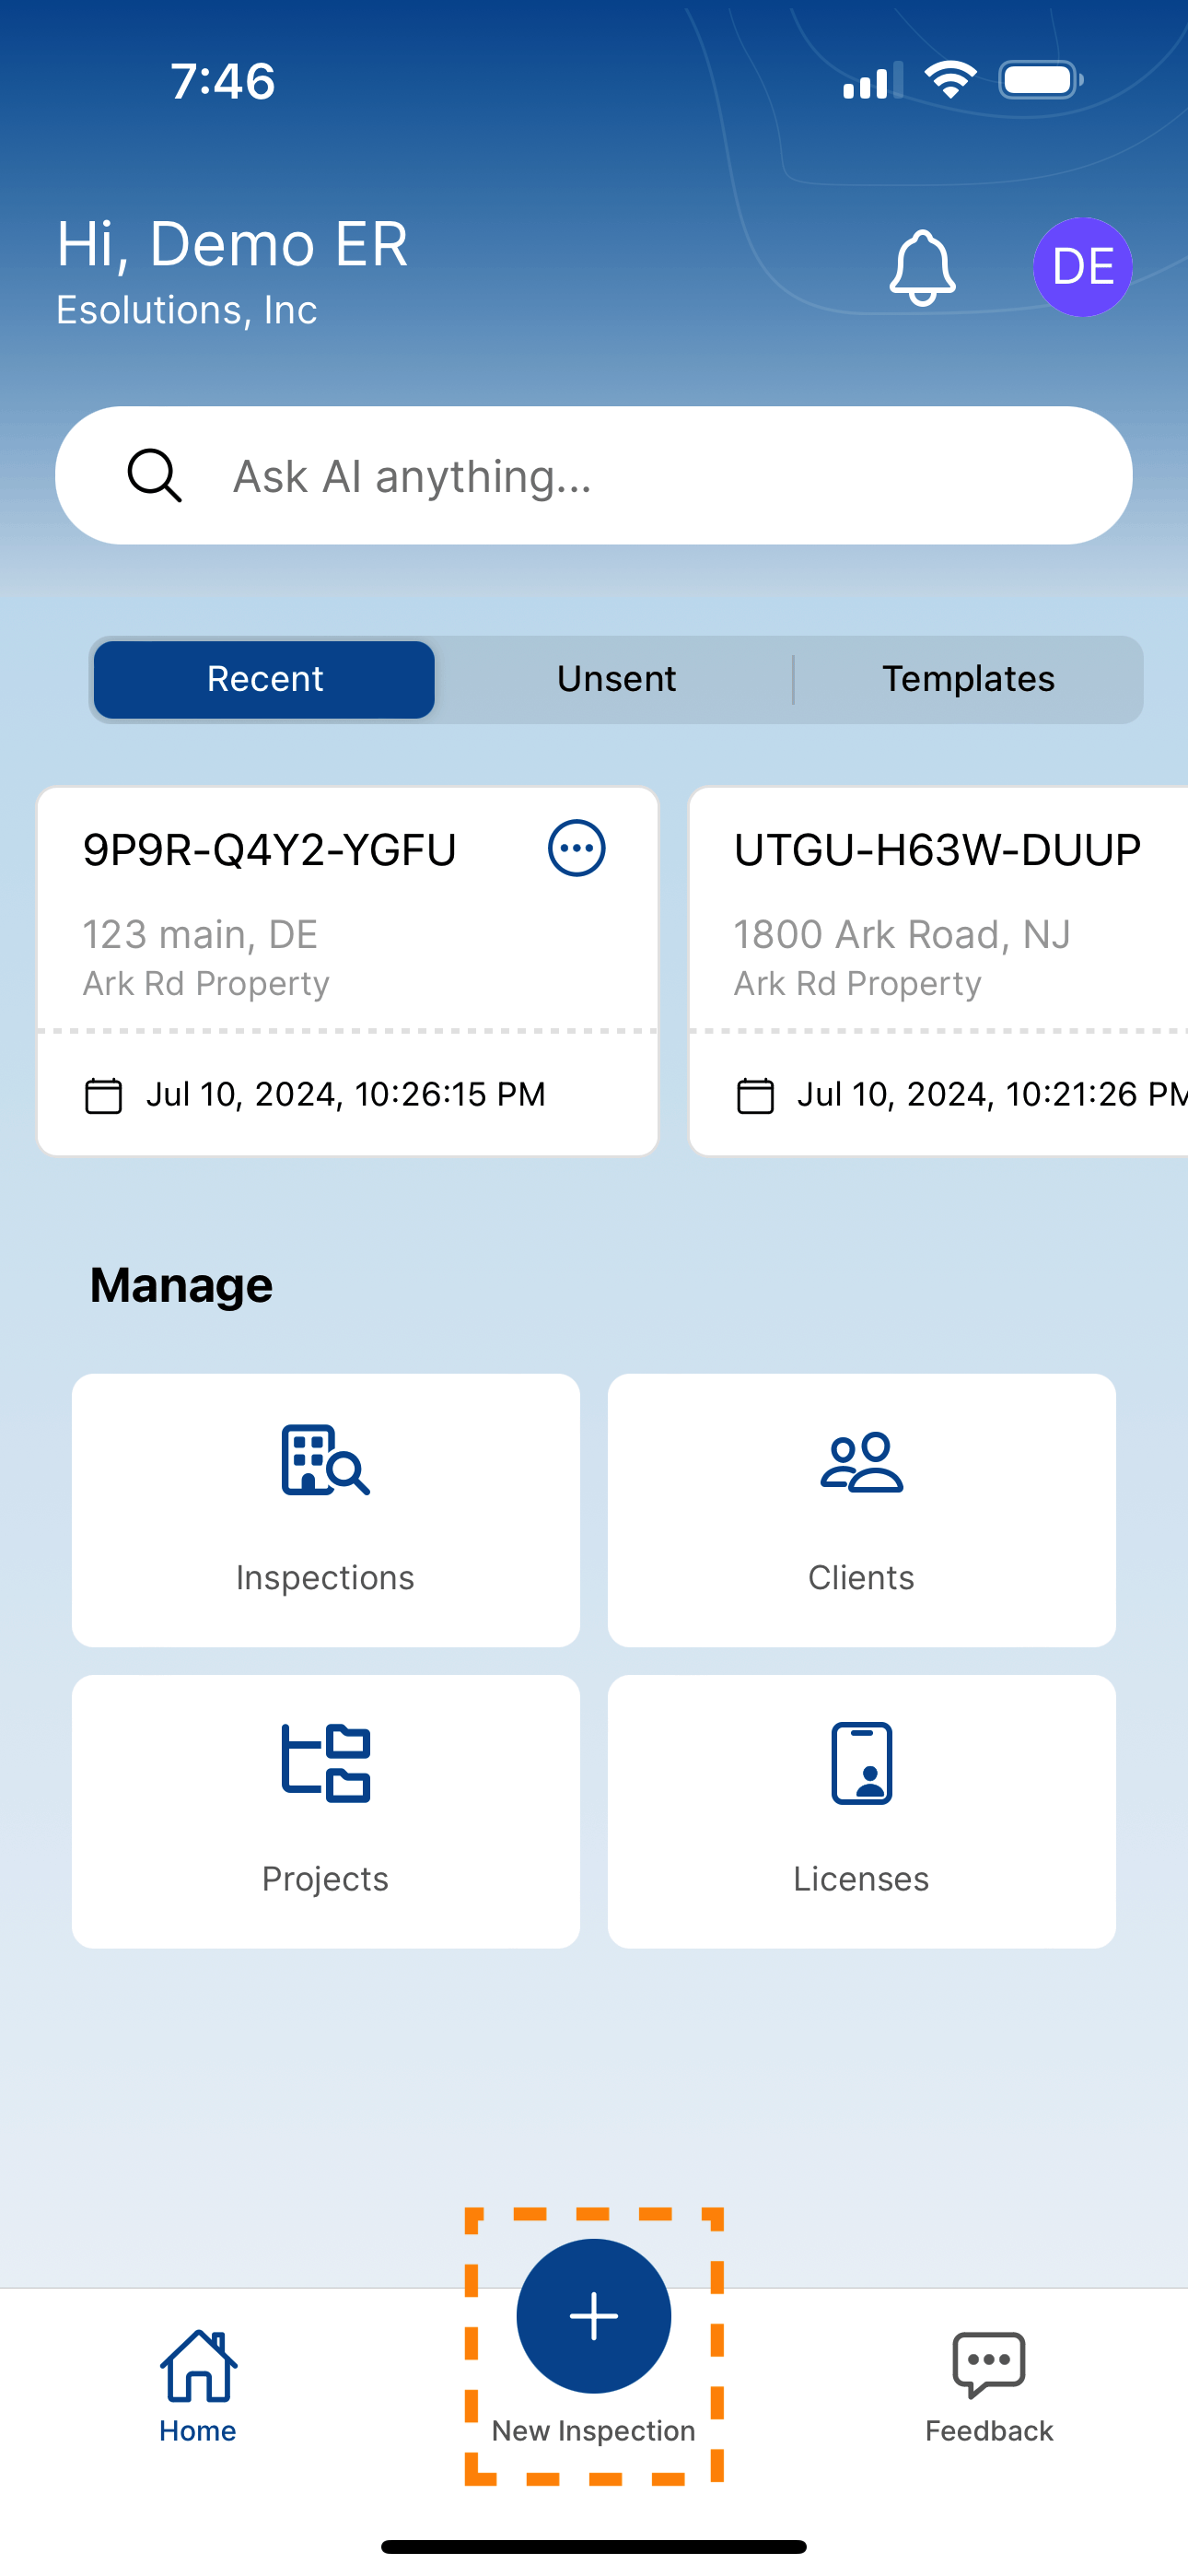
This starts a new inspection. You will see at the top of the screen there are pills that indicate which section of the inspection form you are on. This is the inspection navigation. Everytime you start an inspection you start with filling out the Overview information.

Overview
Continue to fill out the information on the Overview form.
Client
The first thing you will notice is a Client drop down list. If you have previously entered client information on the app or the portal you will see your list of clients. If not, just tap the new button and enter the client information.
Project
There is also a Project drop down list. This works the same way as the Clients drop down list. Projects are associated with a client. Specifying a project organizes your inspections and provides critical information to the system for generating reports later on.
Inspection Type
Next you should specify the type of inspection you are performing. This selection changes the type of inspection form in the next section.
Location
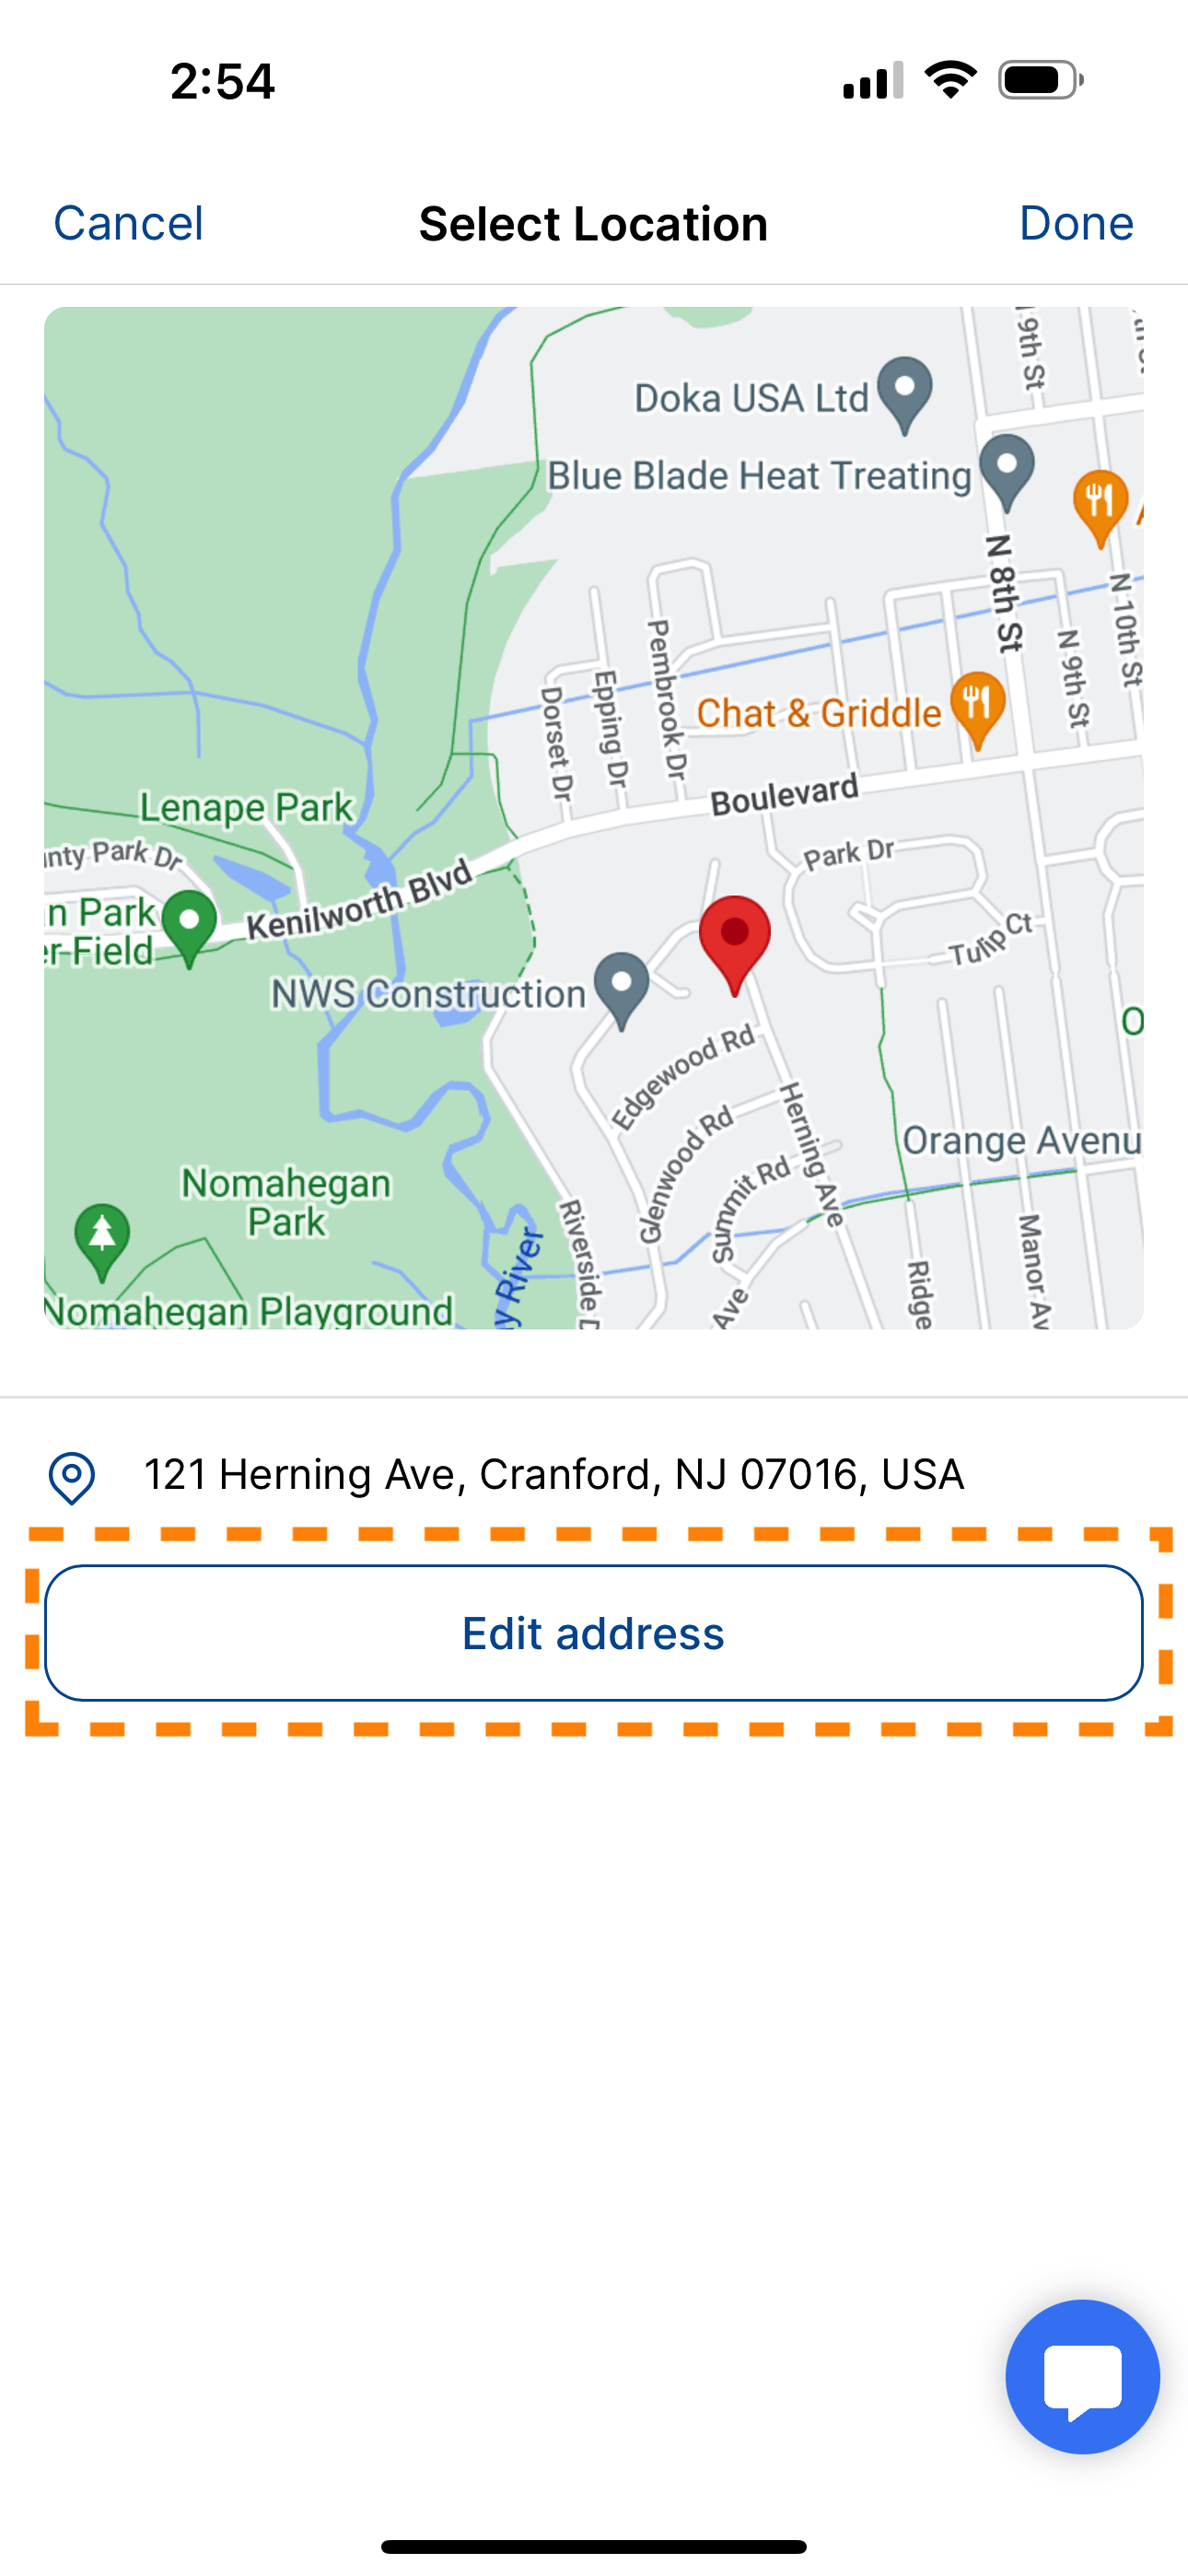
The app attempts to find your current information by using the GPS capabilities of the device you are using. If you need to edit the location or manually add a location simply tap the location card. You will be taken to a screen with a map of the location. At the bottom of the screen there is an "Edit Address" button. Simply tap this button to adjust the address/location.
Once you have filled out the location information continue to fill out the Overview fields. Remember while some of the fields are not required, if you want to use them in your reports later on you should fill them in.
Inspection
Once you are satisfied with the Overview information click on the Inspection pill at the top of the page. This will navigate you to the next section of the inspection form.
The Inspection section is used for three functions.
- To enter Location information
- To enter Materials or Concerns
- To enter Samples
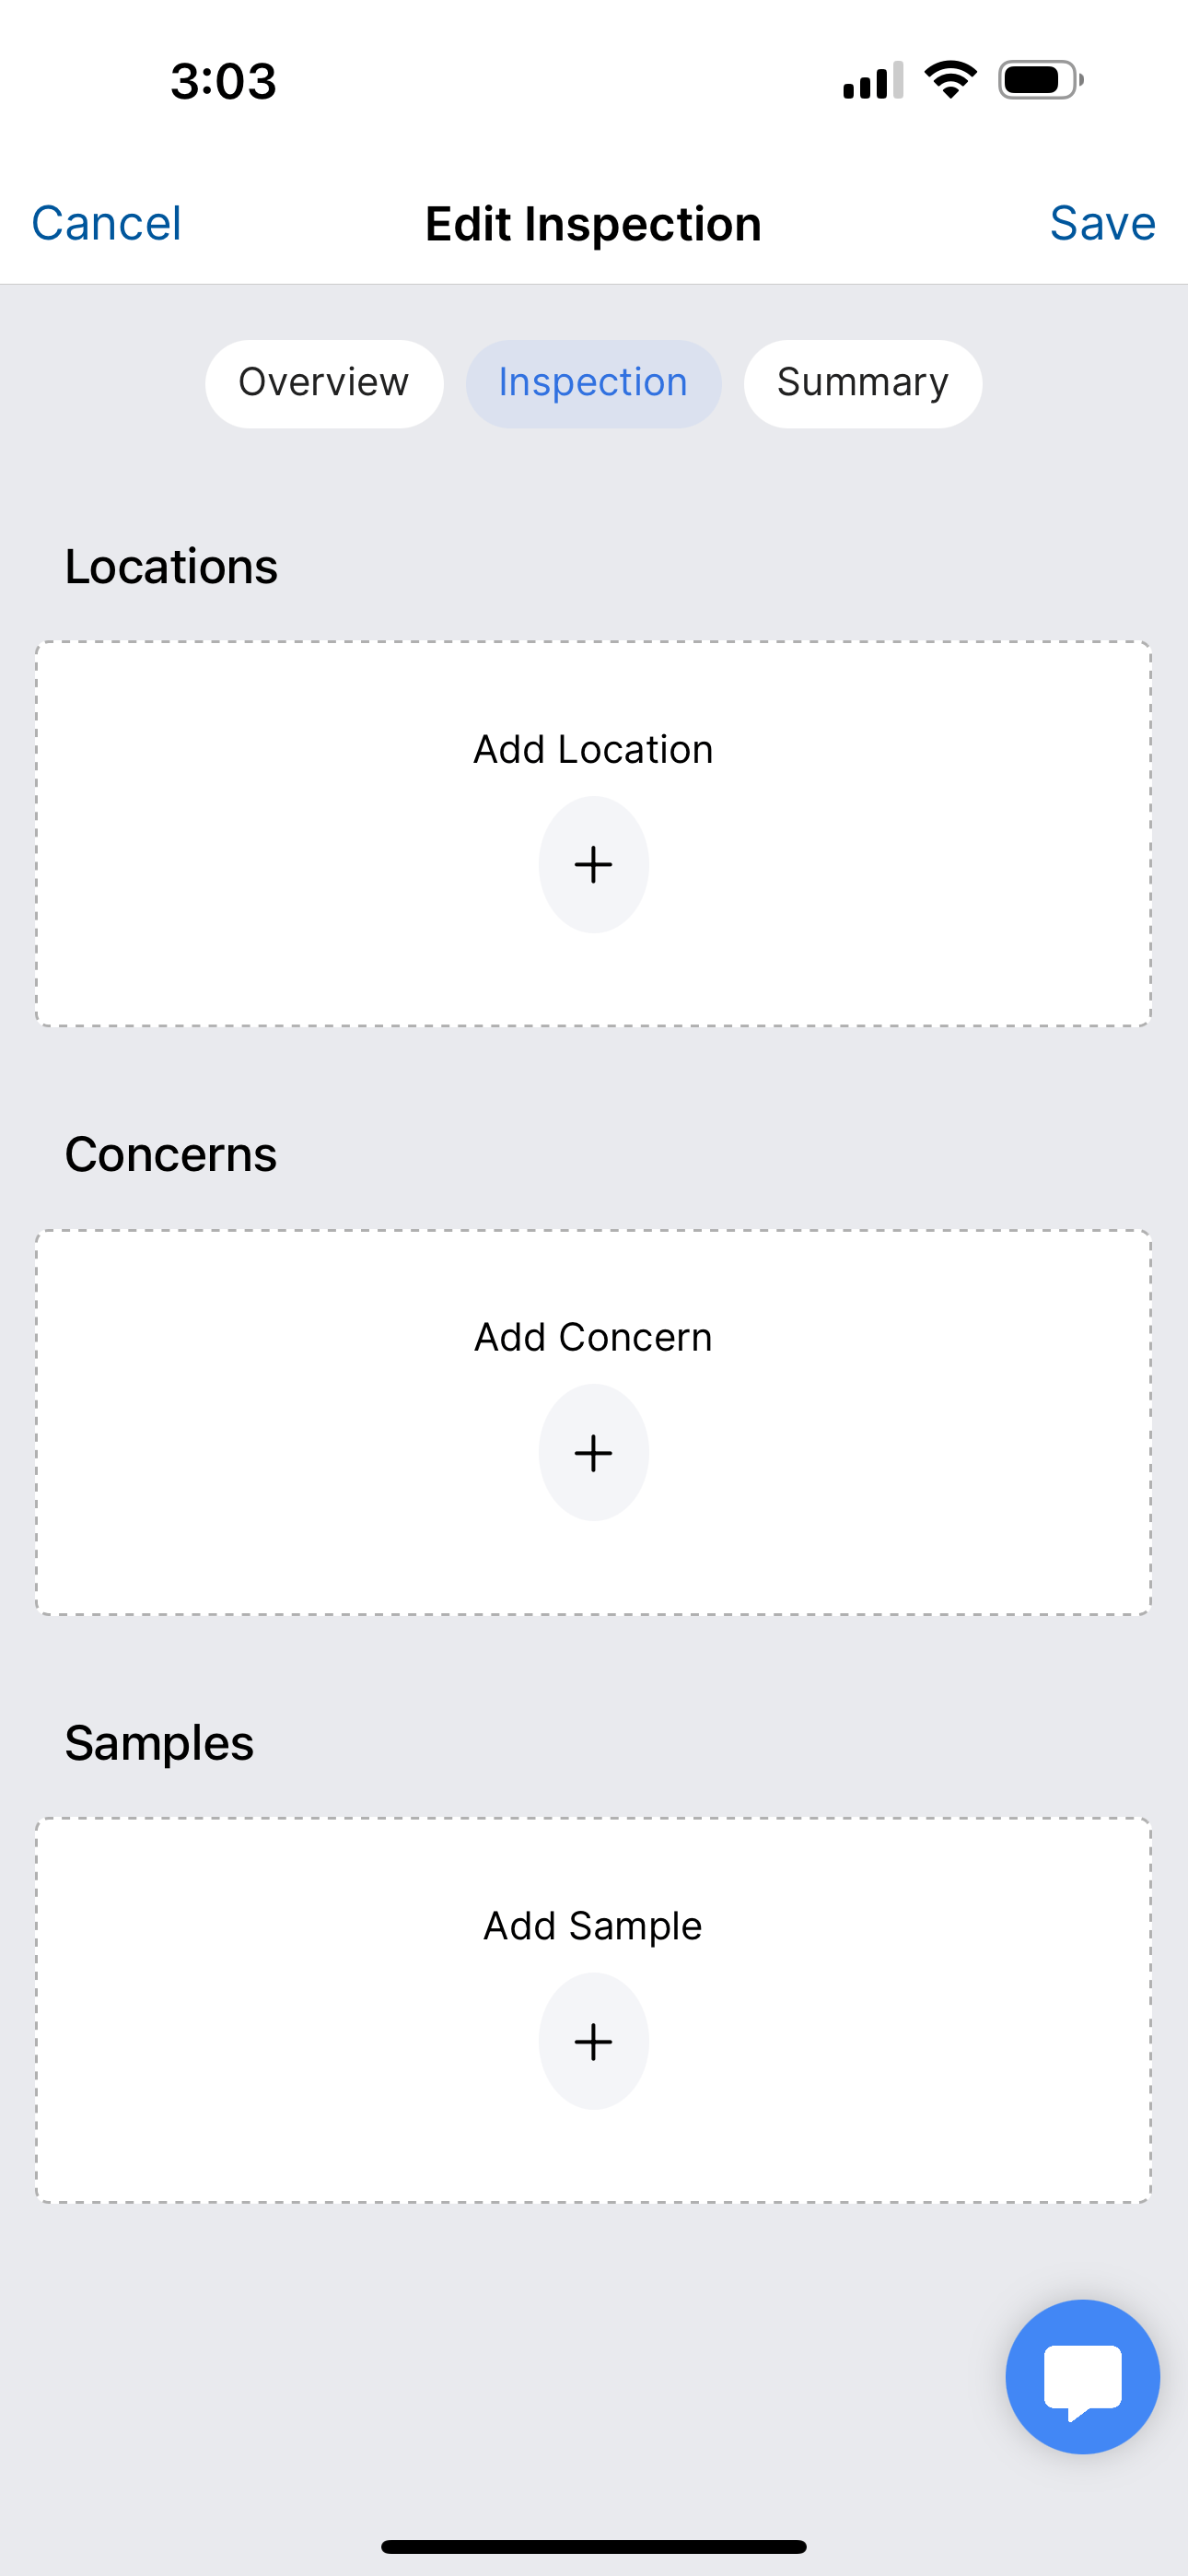
Locations
The list of available locations is dependant on the building type that you selected in the Overview section. Simply tap the plus button on the Add Location card to bring up the list of available locations for your inspection.
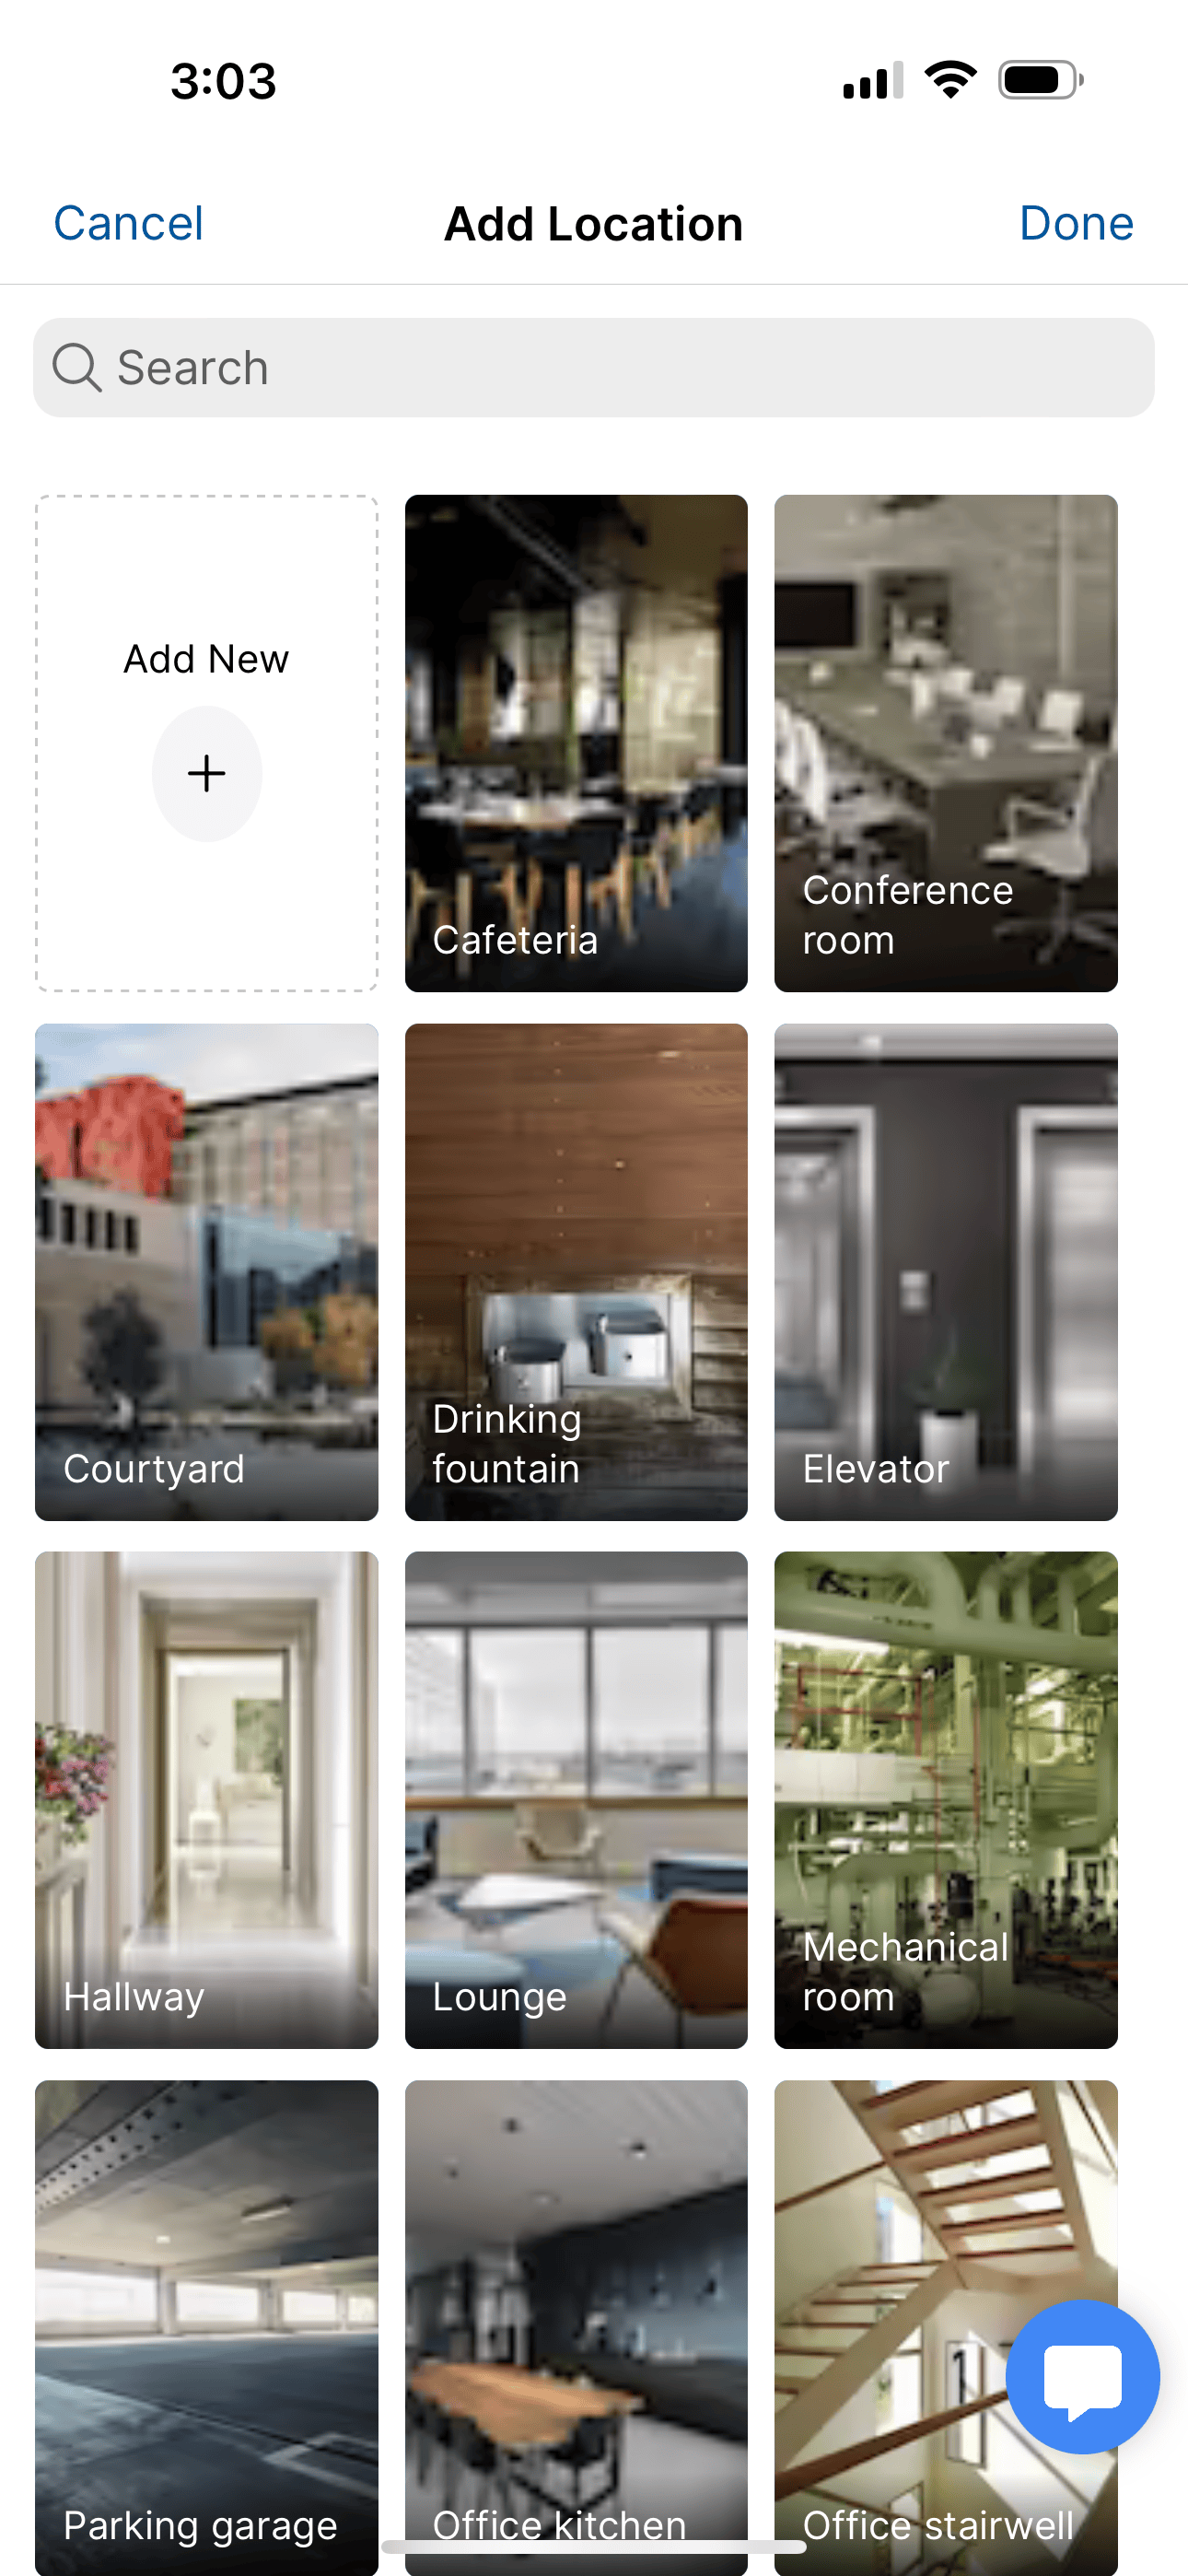
Select one or more from the list or tap "Add New" to enter your own custom location.
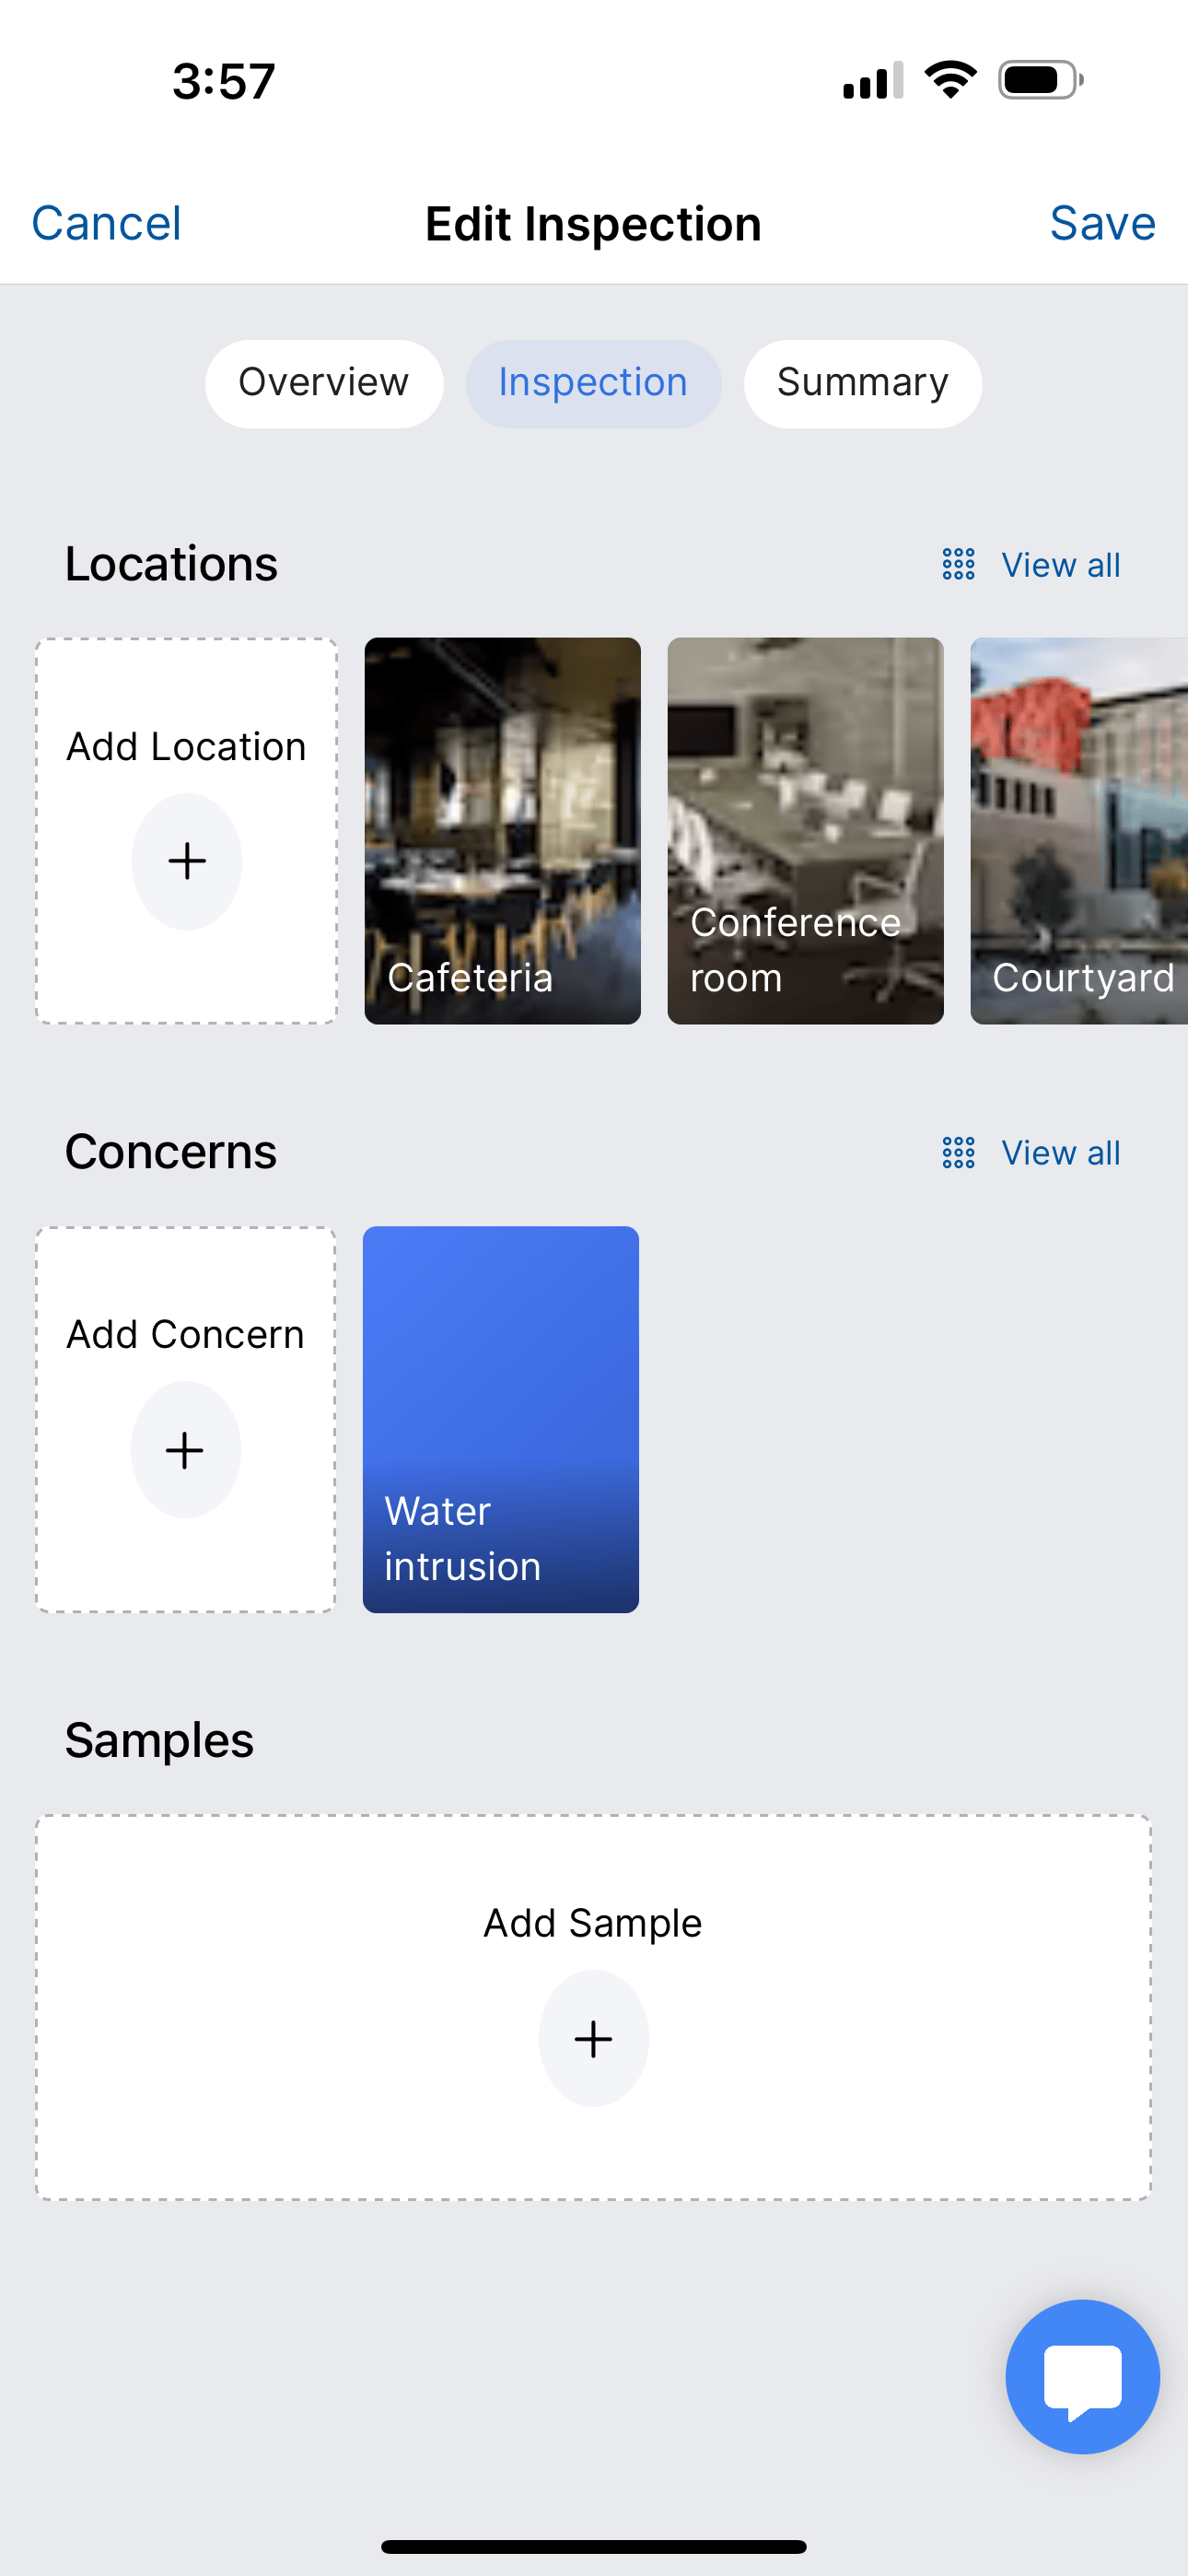
Once you have added your locations they will be available on the Edit Inspection screen. You can add, remove, or edit locations at any time.
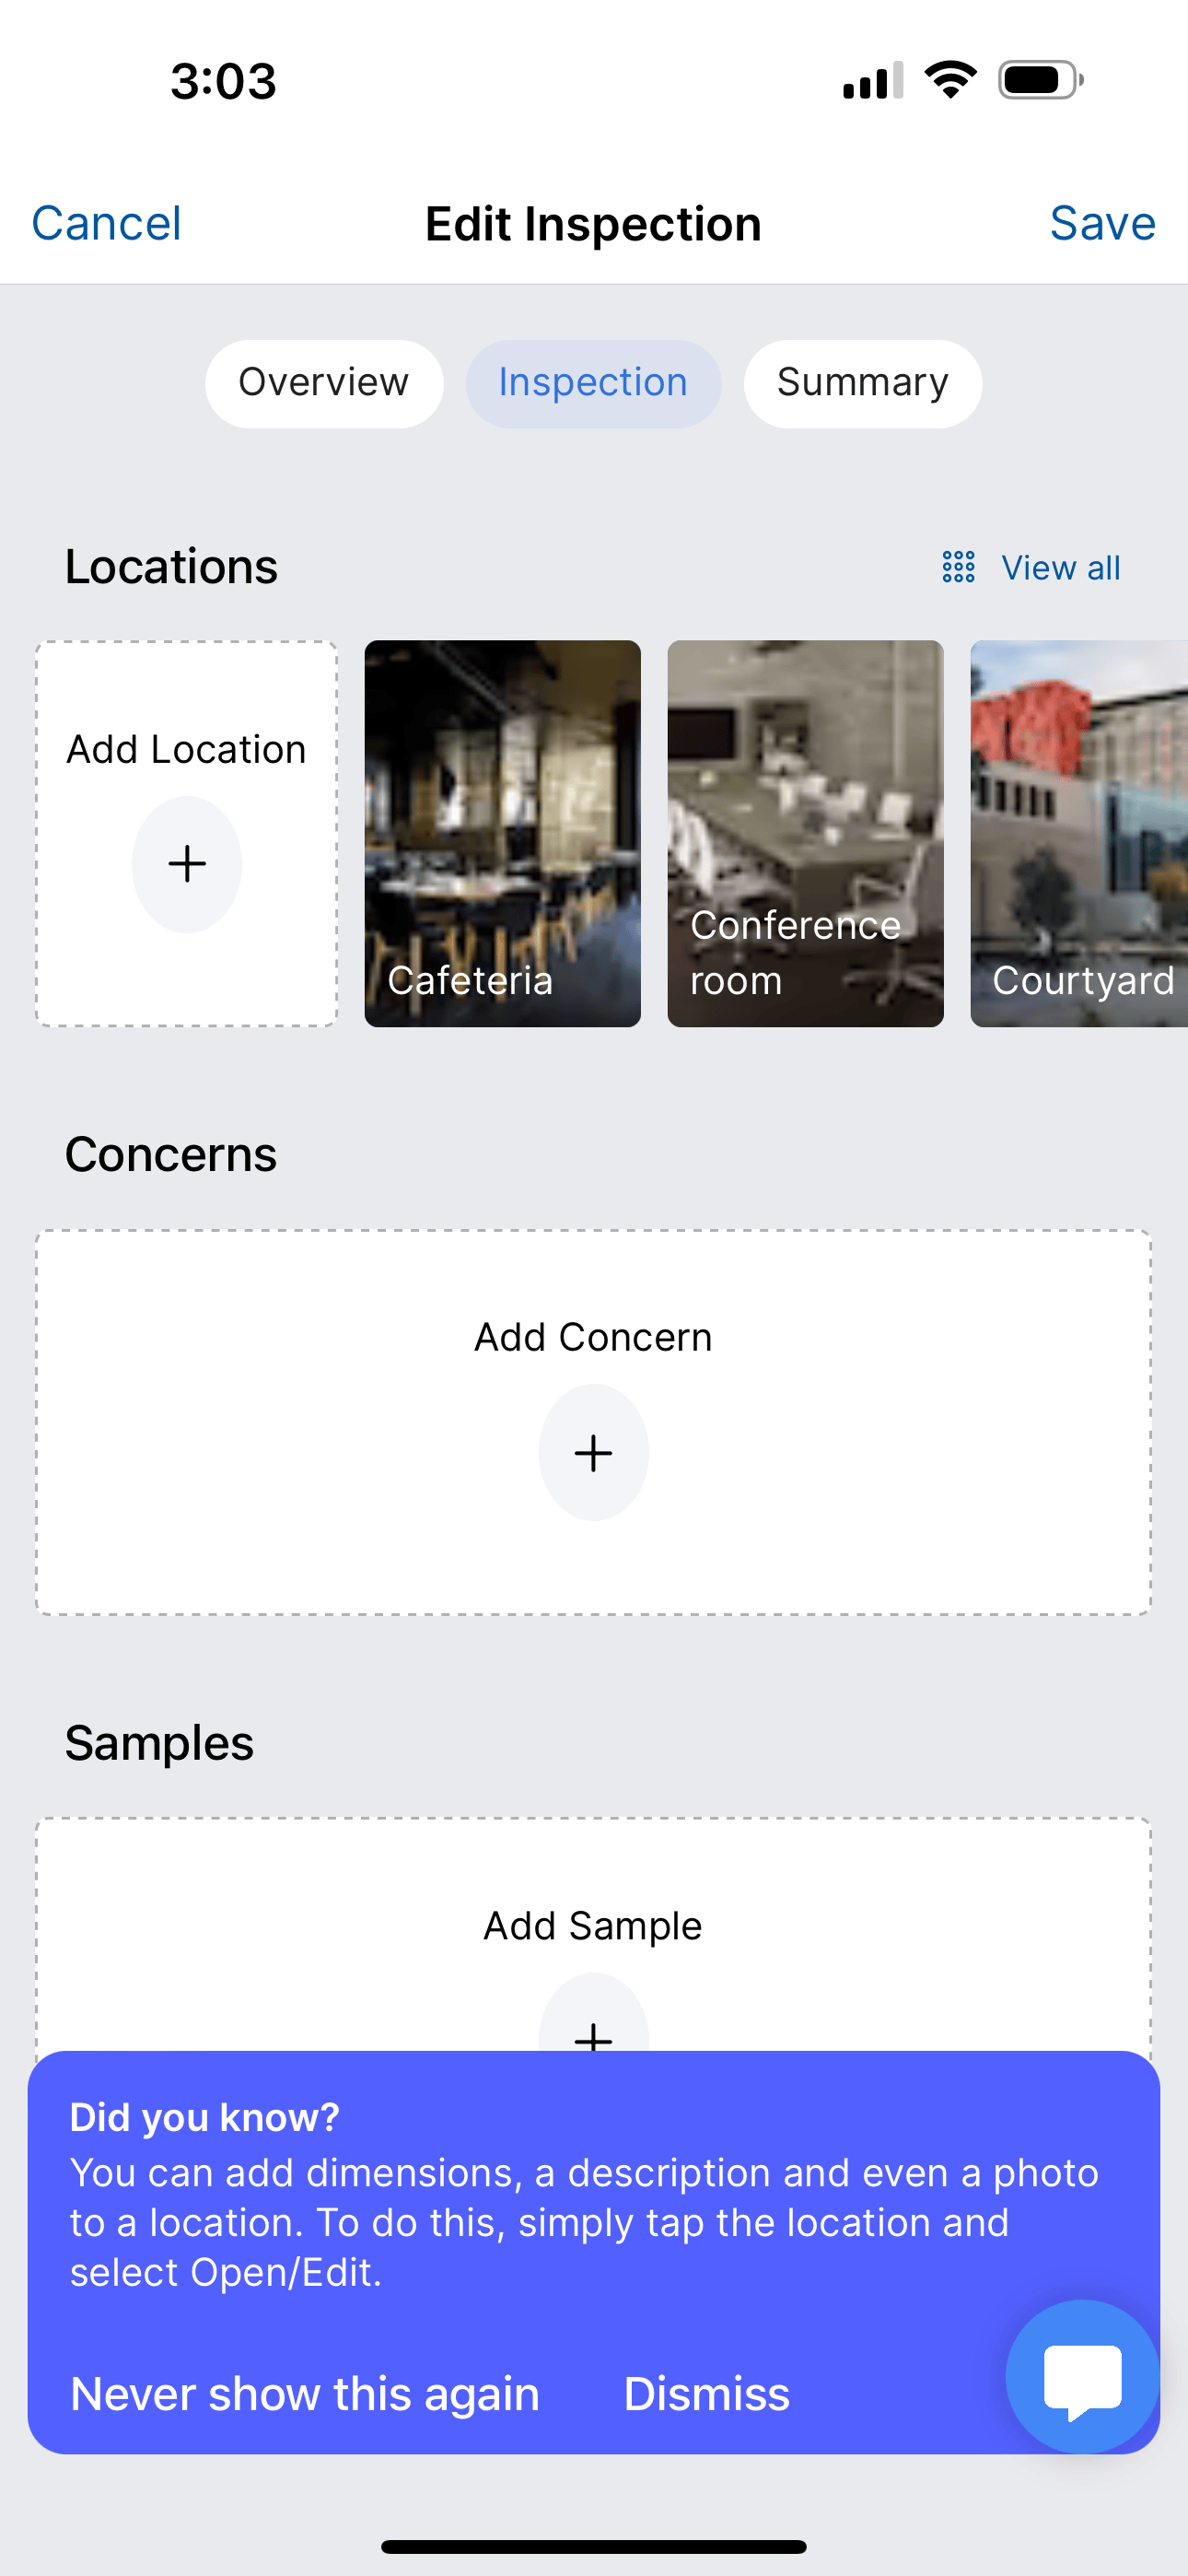
Location Details
You will see a notification once you have added locations to your inspection. This notification let's you know that you can add dimenstions, descriptions, and photos to the location(s). While not required, this information may be critical when trying to create a report later on. So, the more information you include with your inspection the better.
You should know!
You can take pictures of your locations. Simply tap the "Add Photo" button and use the camera control to take a photo or use a photo from your media gallery.
Concerns / Materials
If you are doing an Asbestos Bulk inspection you will see a Materials card for adding materials to your inspection. If you are doing any other inspection type you will see Concerns instead. Adding concerns or materials to your inspection uses the same UI pattern as adding locations. For materials, you will see a list of available materials for the building type that you selected. For concerns, you simply tap Add Concern and fill in the information.
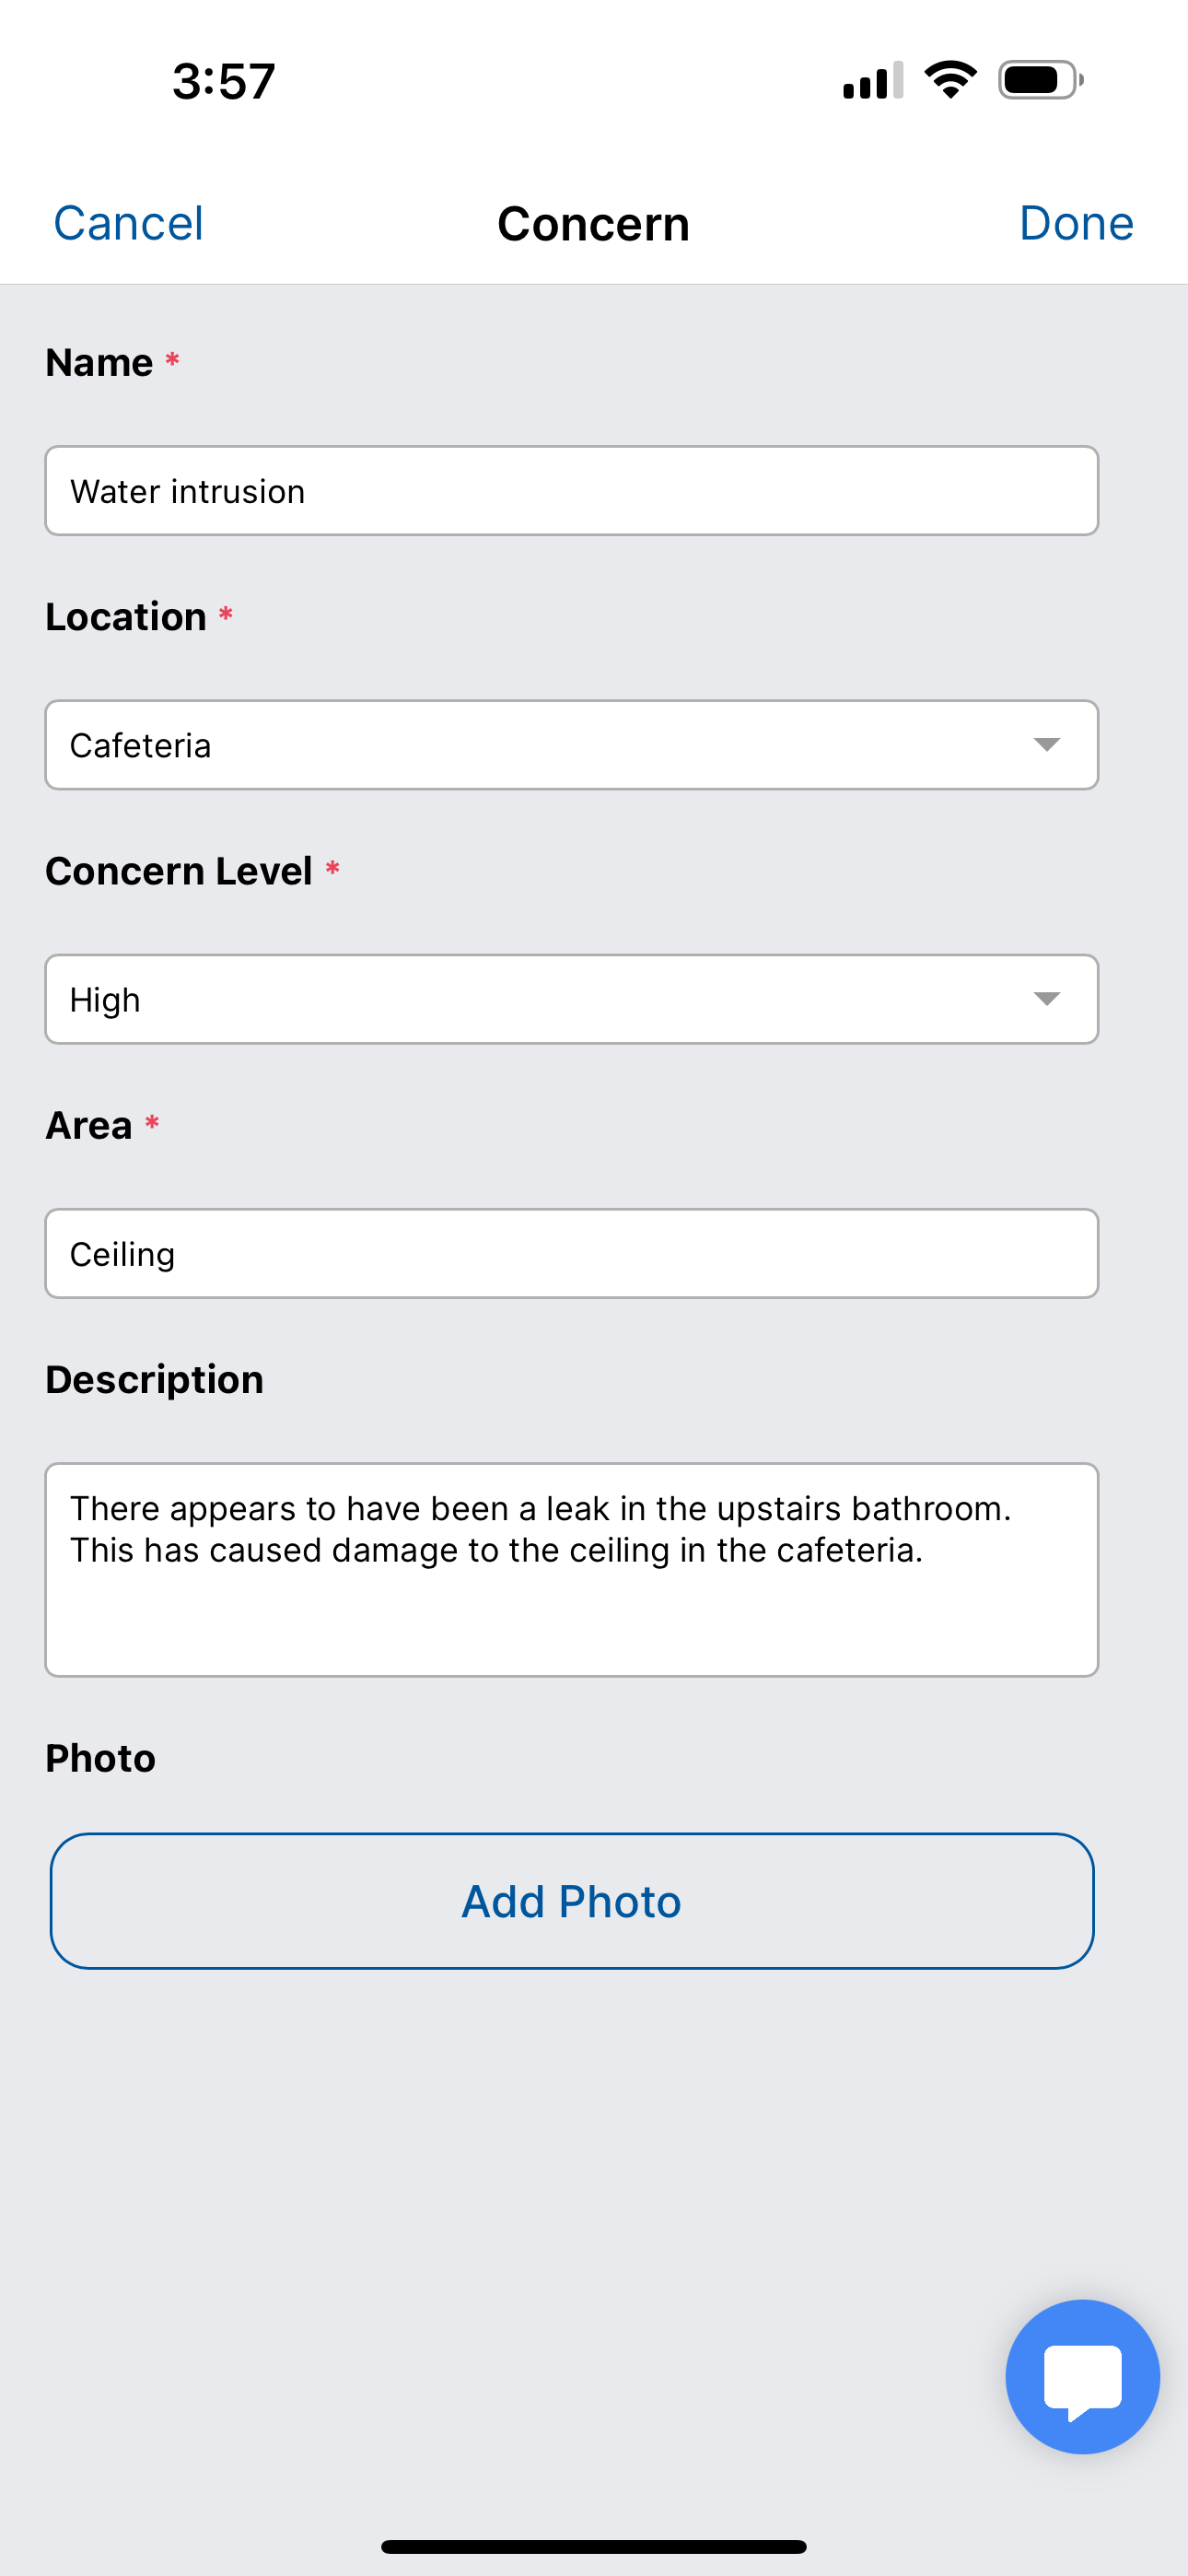
Tapping Done saves your concern to the inspection.
Linking Materials to Locations
When you are performing an Asbestos Bulk inspection, you want to link your materials to locations. This is necessary to create HA tables and other types of tables when generating reports.
When you create an Asbestos Bulk Sample this is done for you. You simply pick the material you are sampling and the location where you are taking the sample.
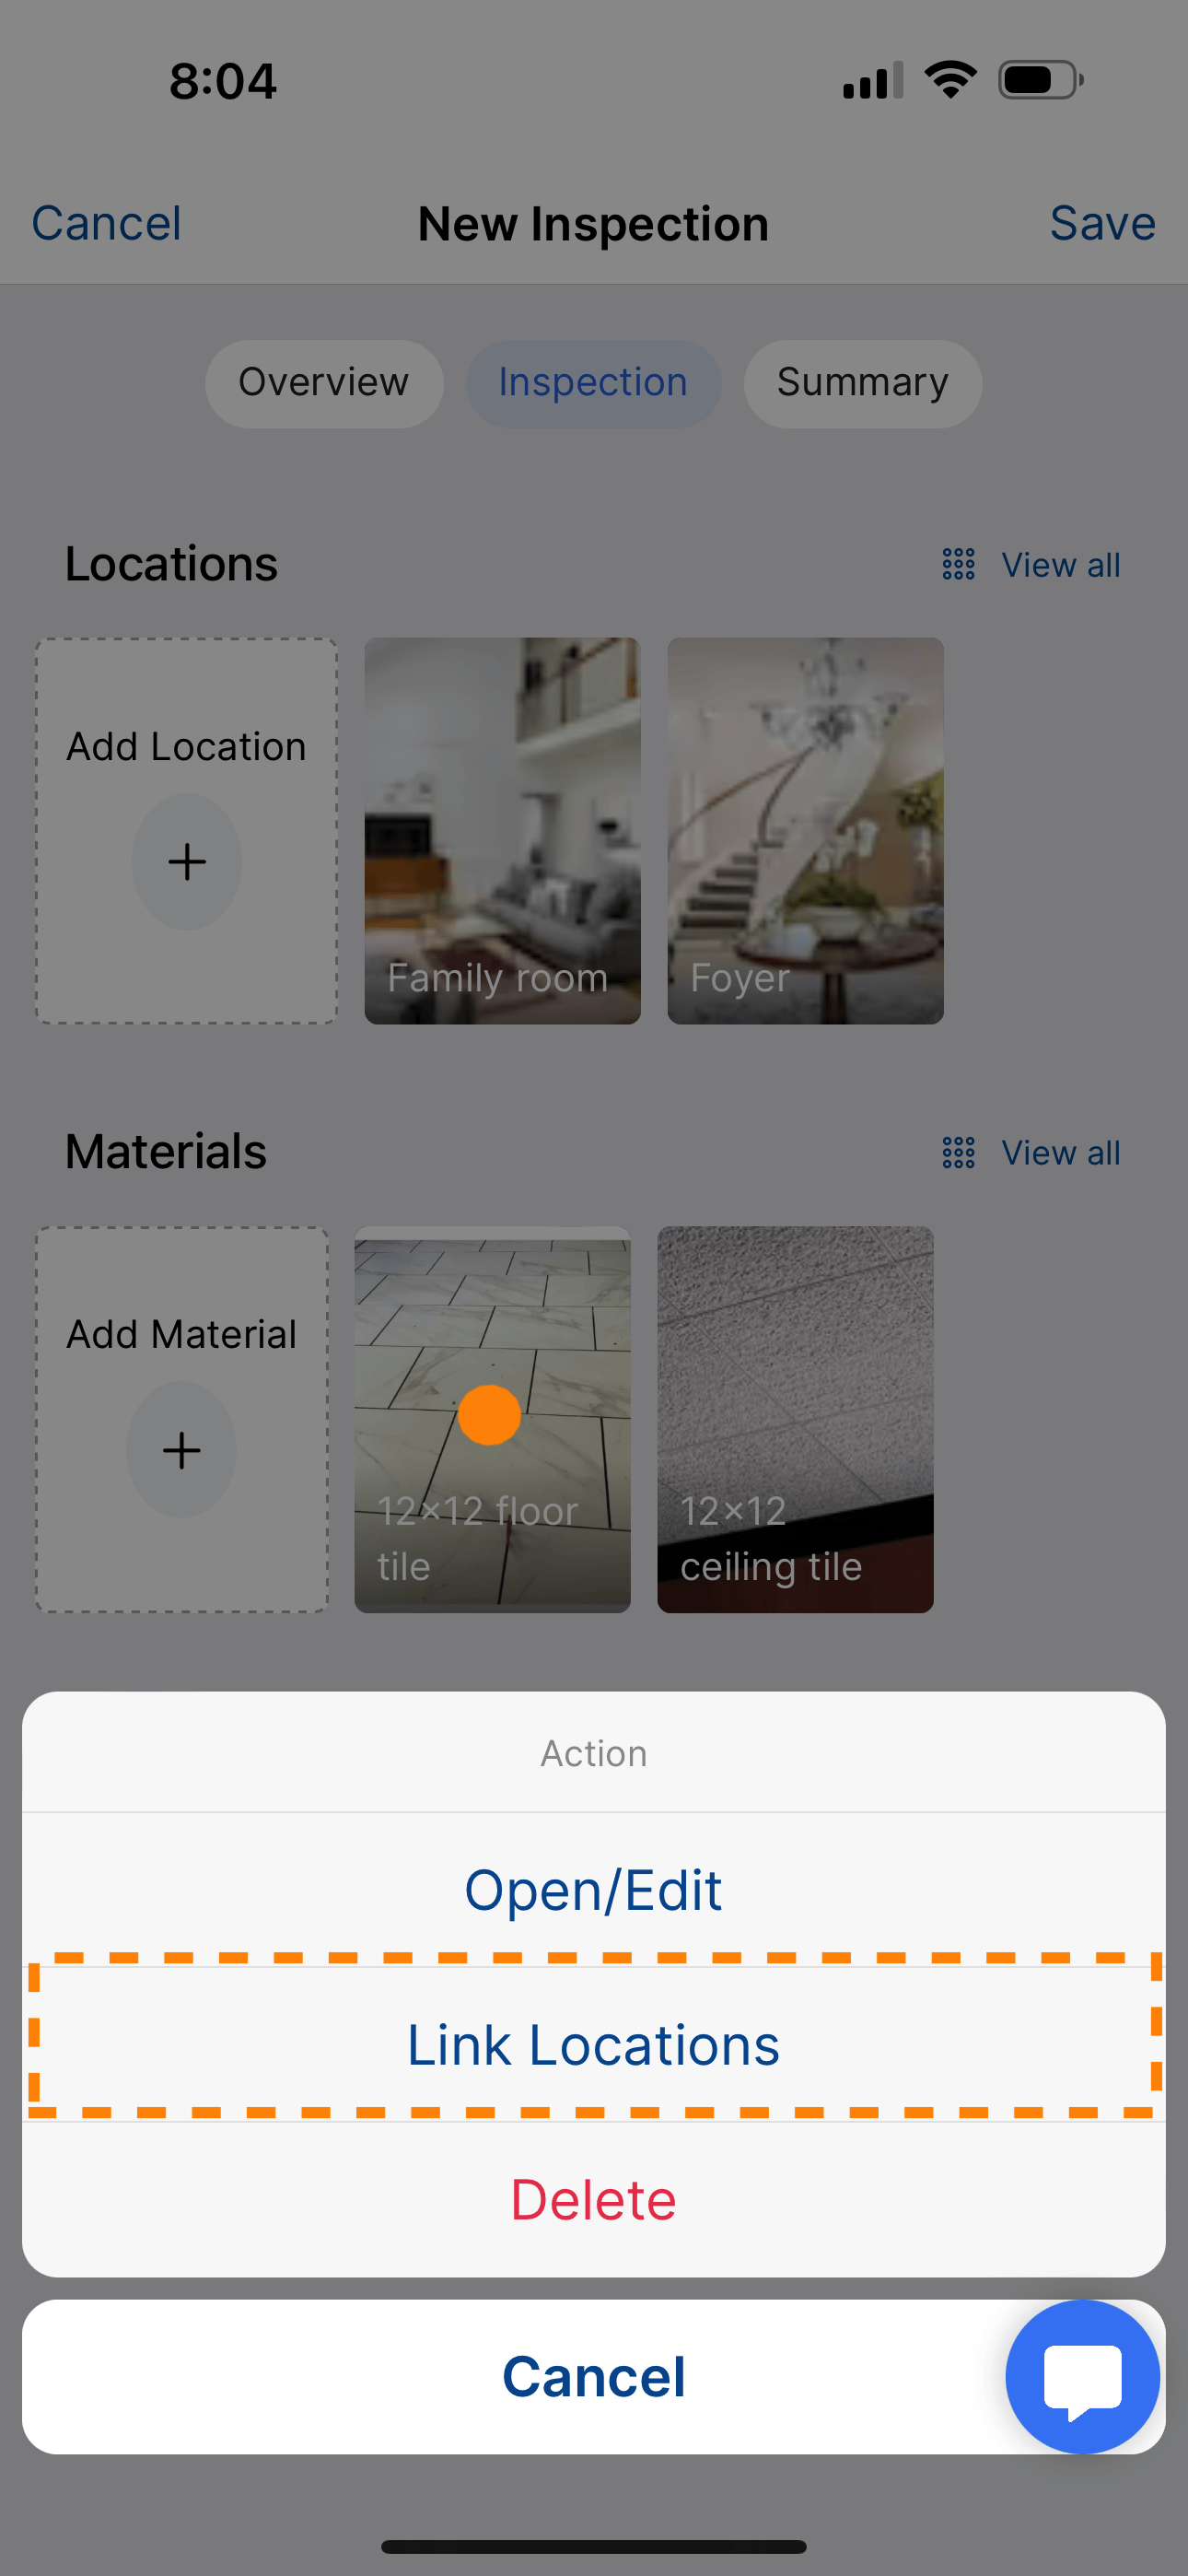
However, there are times when you have a material present in a location but you are not sampling it at that location. It's still important that you capture this information. You can do this two different ways. You can tap on the material card and then tap Link Locations to select the locations that should be linked to that material.

Or conversely, you can tap on the location card and then tap Link Materials to select all of the materials that you have identified in that location.
Material Details
When doing an asbestos bulk inspection, it's common to want to capture additional information about materials. For example, you may want to describe a material in more detail by adding a color or texture/detail information to the material. To do so, simply tap on the material card and tap open/edit.
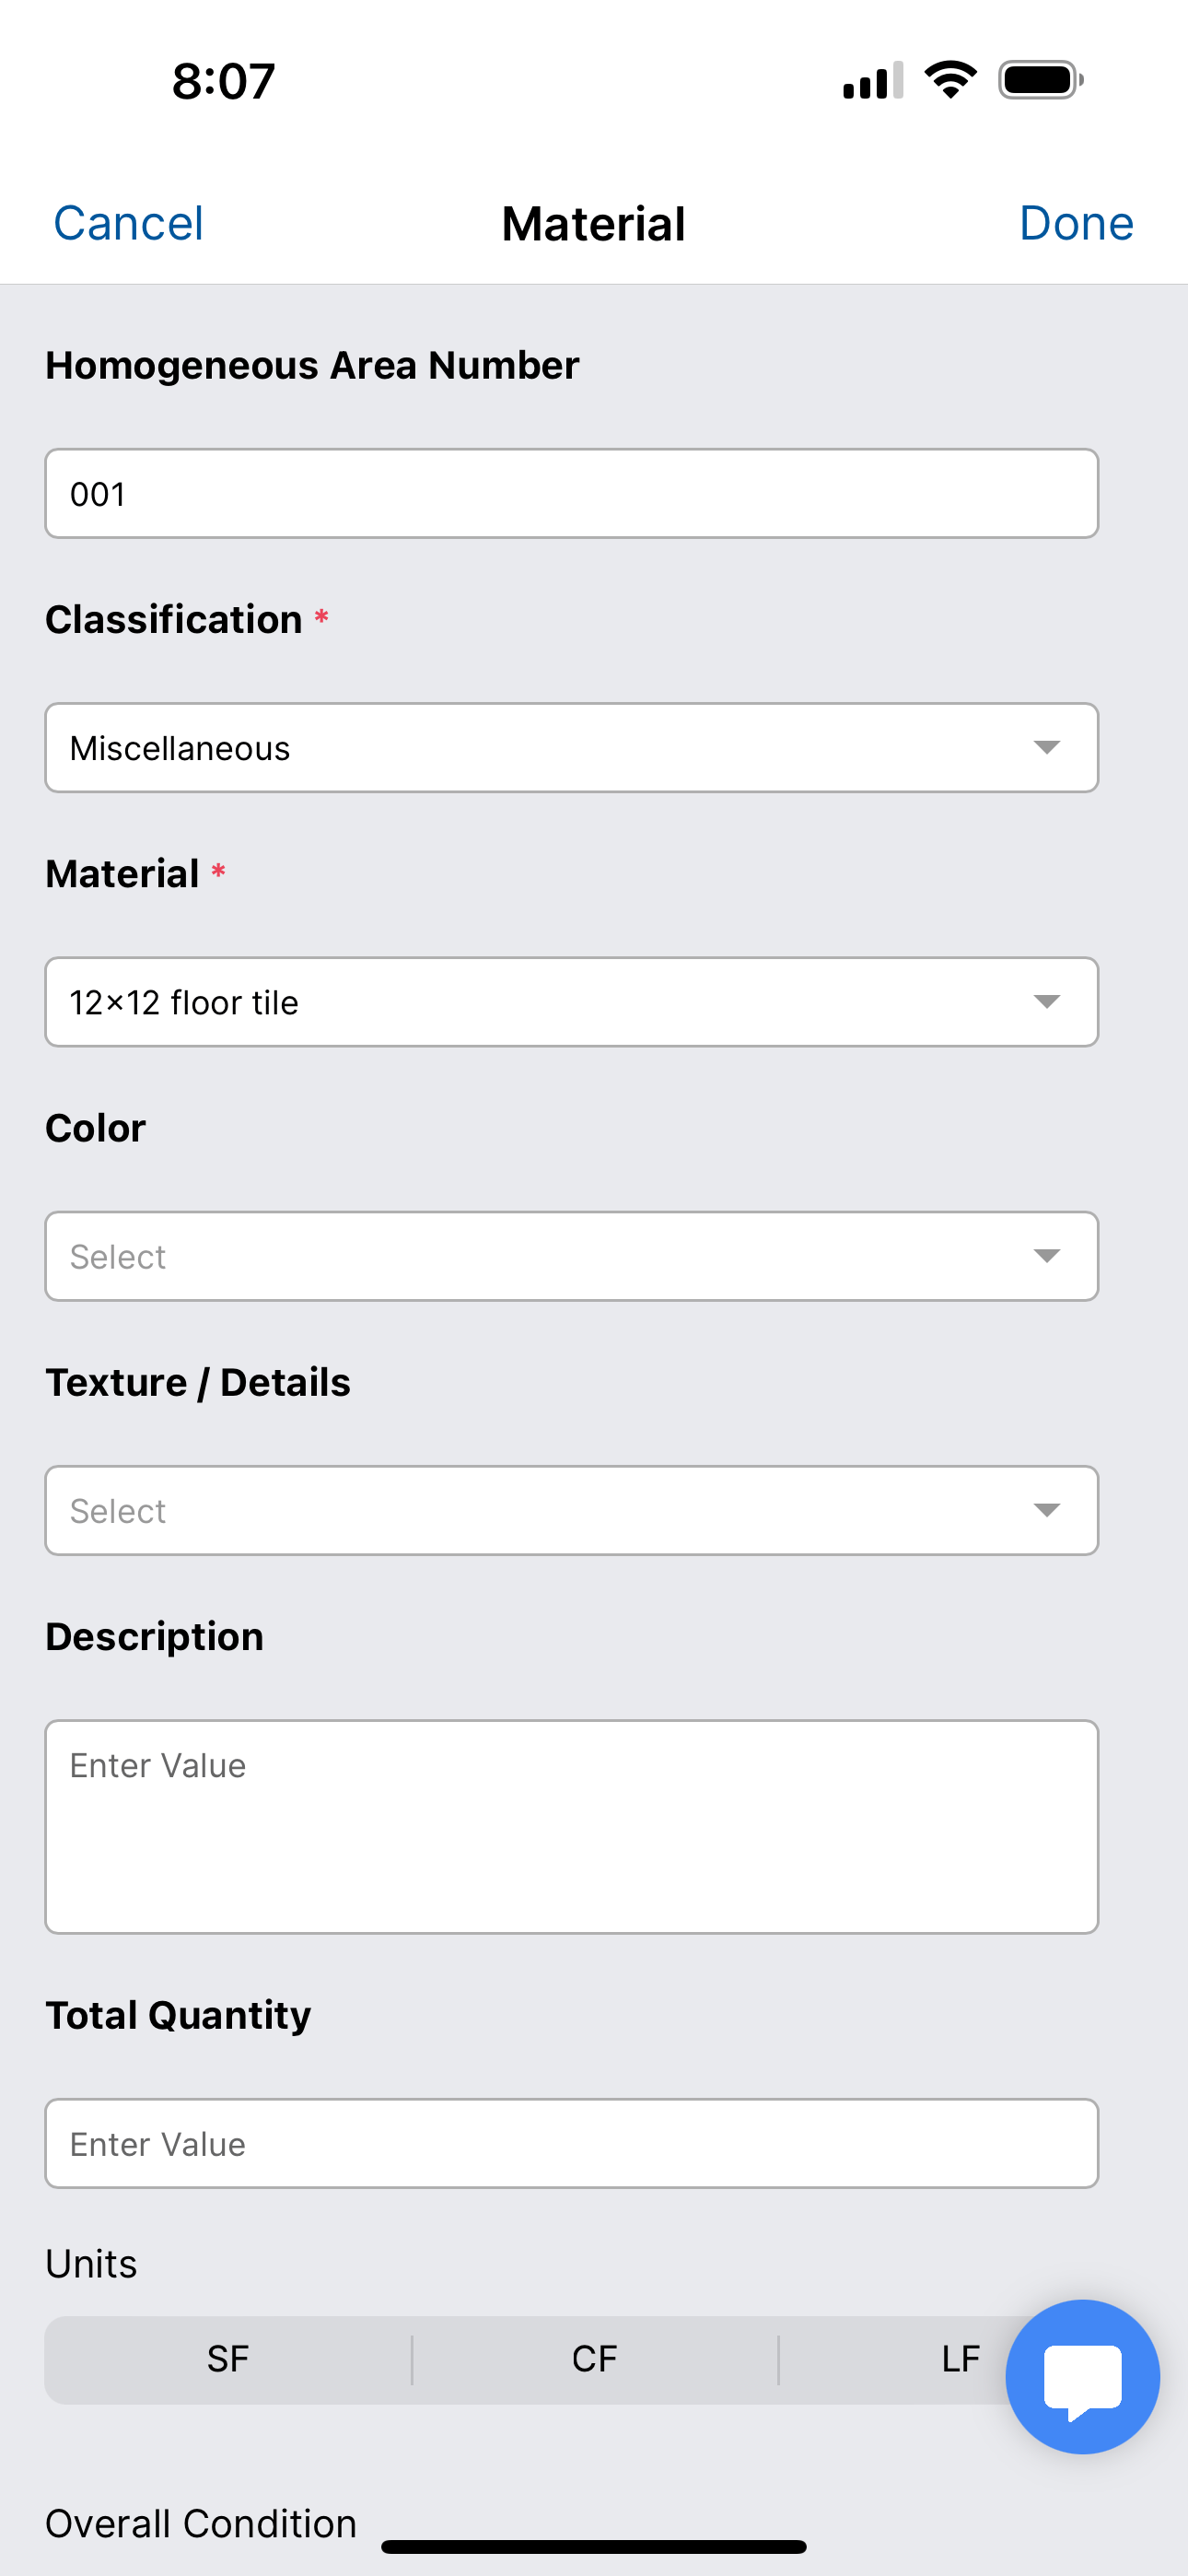
This will bring up the material form. On this form, you can edit the Homogenous Area Number and add details about the material like the color, texture, total square footage and overall condition of the material. This information is important when creating reports.
You should know!
You can take pictures of your materials. Simply tap the "Add Photo" button and use the camera control to take a photo or use a photo from your media gallery.
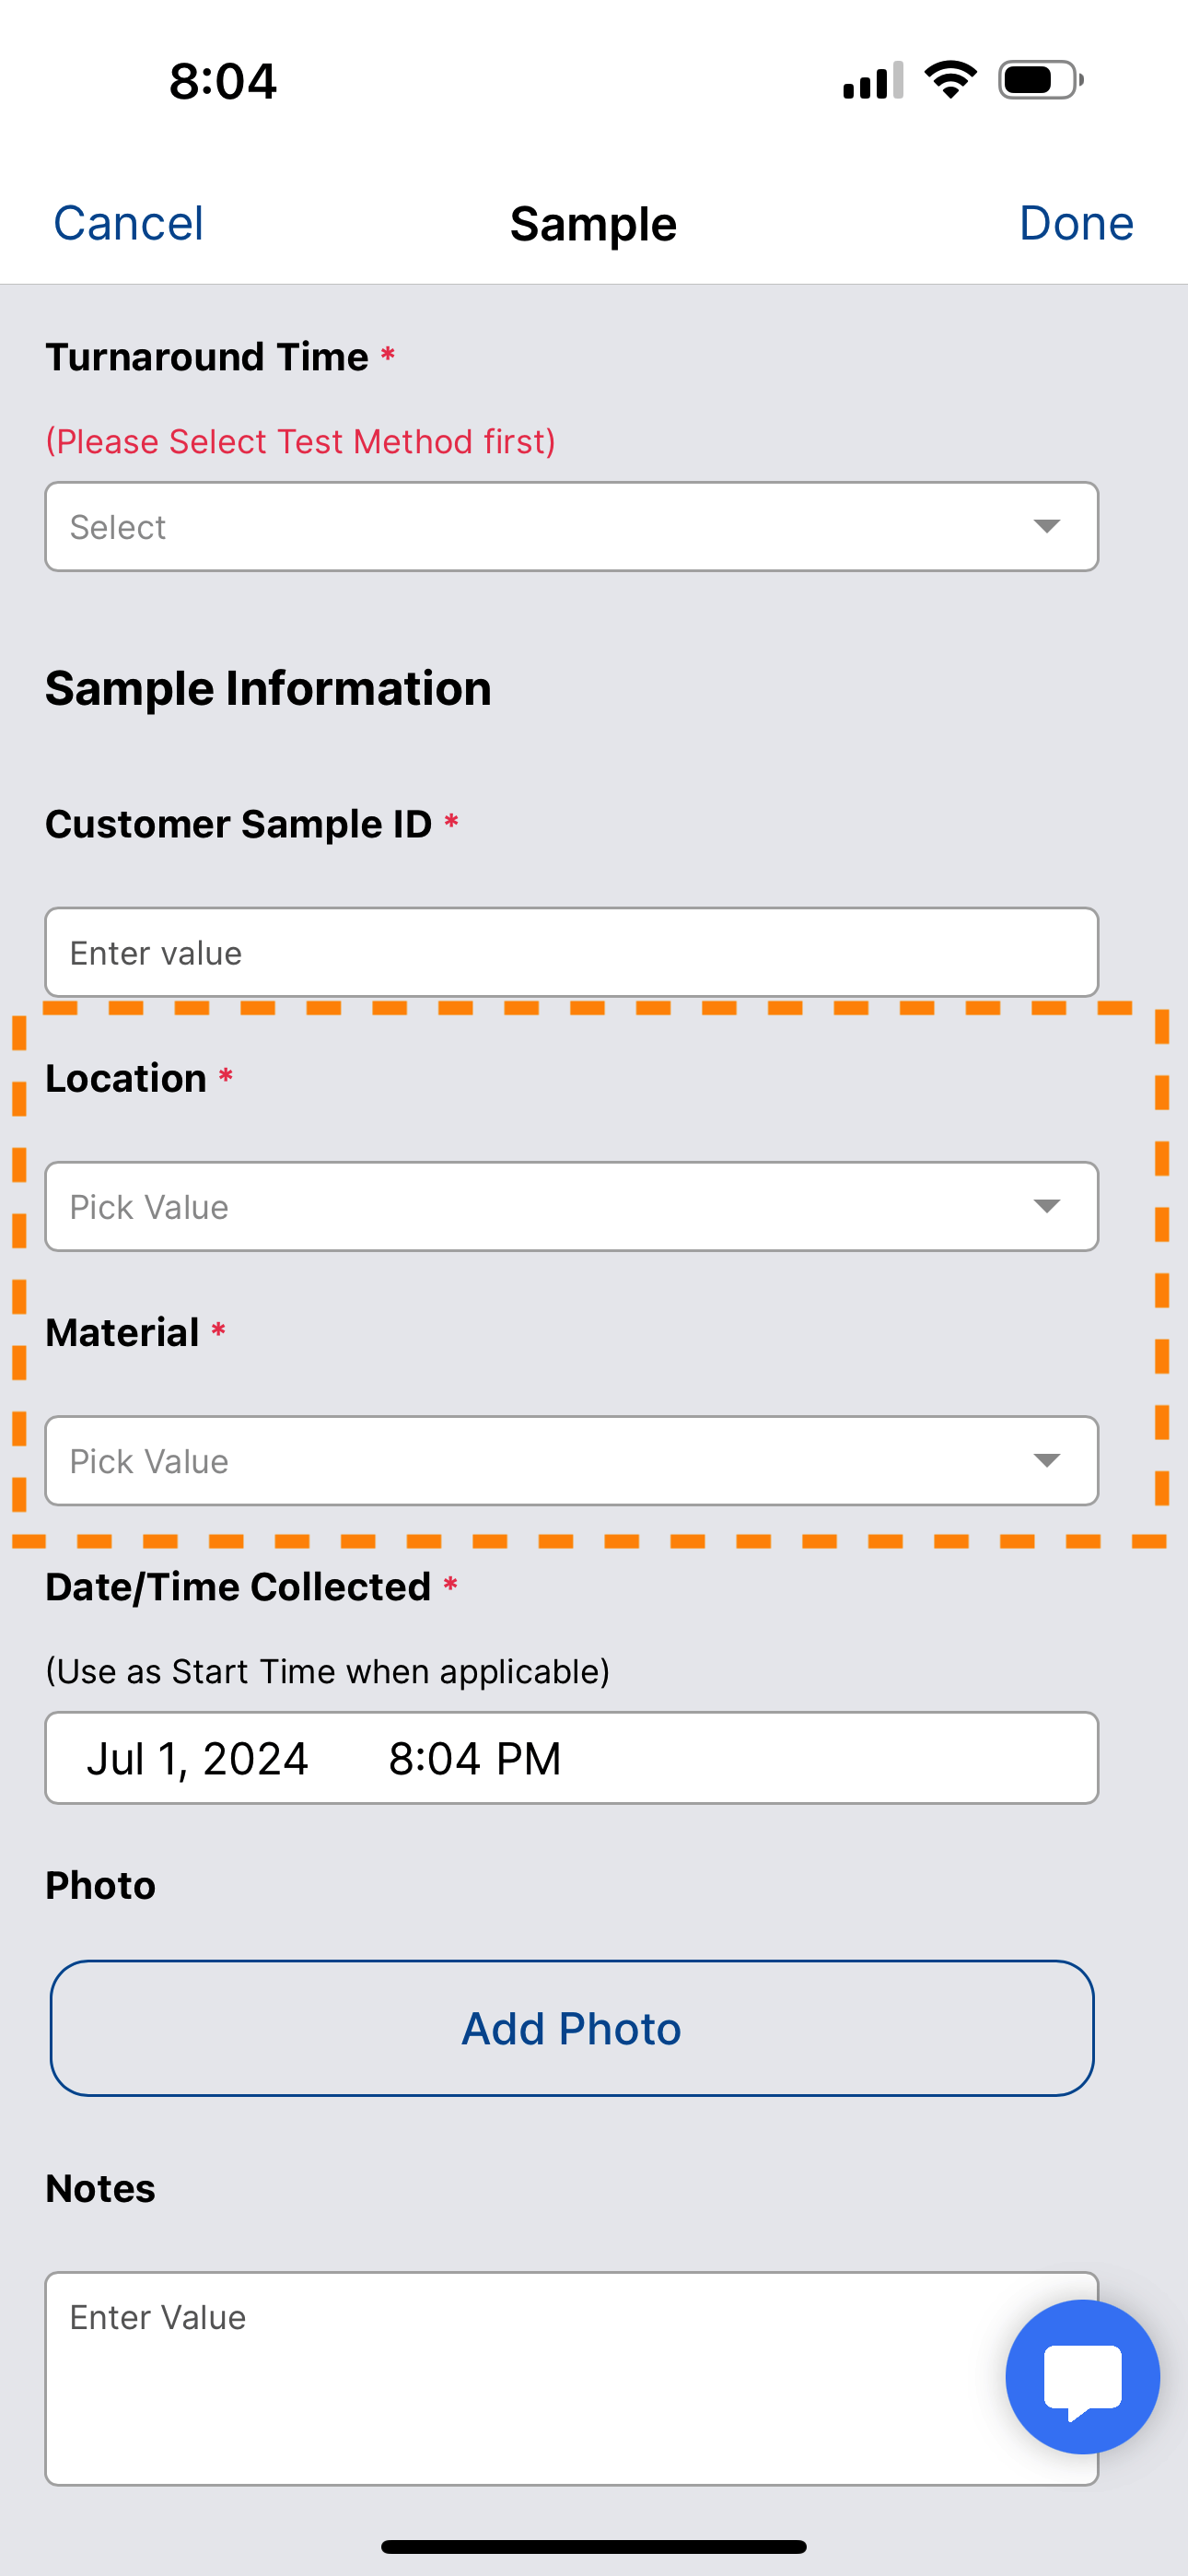
Samples
Taking Samples uses the same user interface pattern. Simply tap "Add Sample" fill in the information on the sample form and click done.
You should know!
You can take pictures of your samples. Simply tap the Add Photo button and use the camera control to take a photo or use a photo from your media gallery.
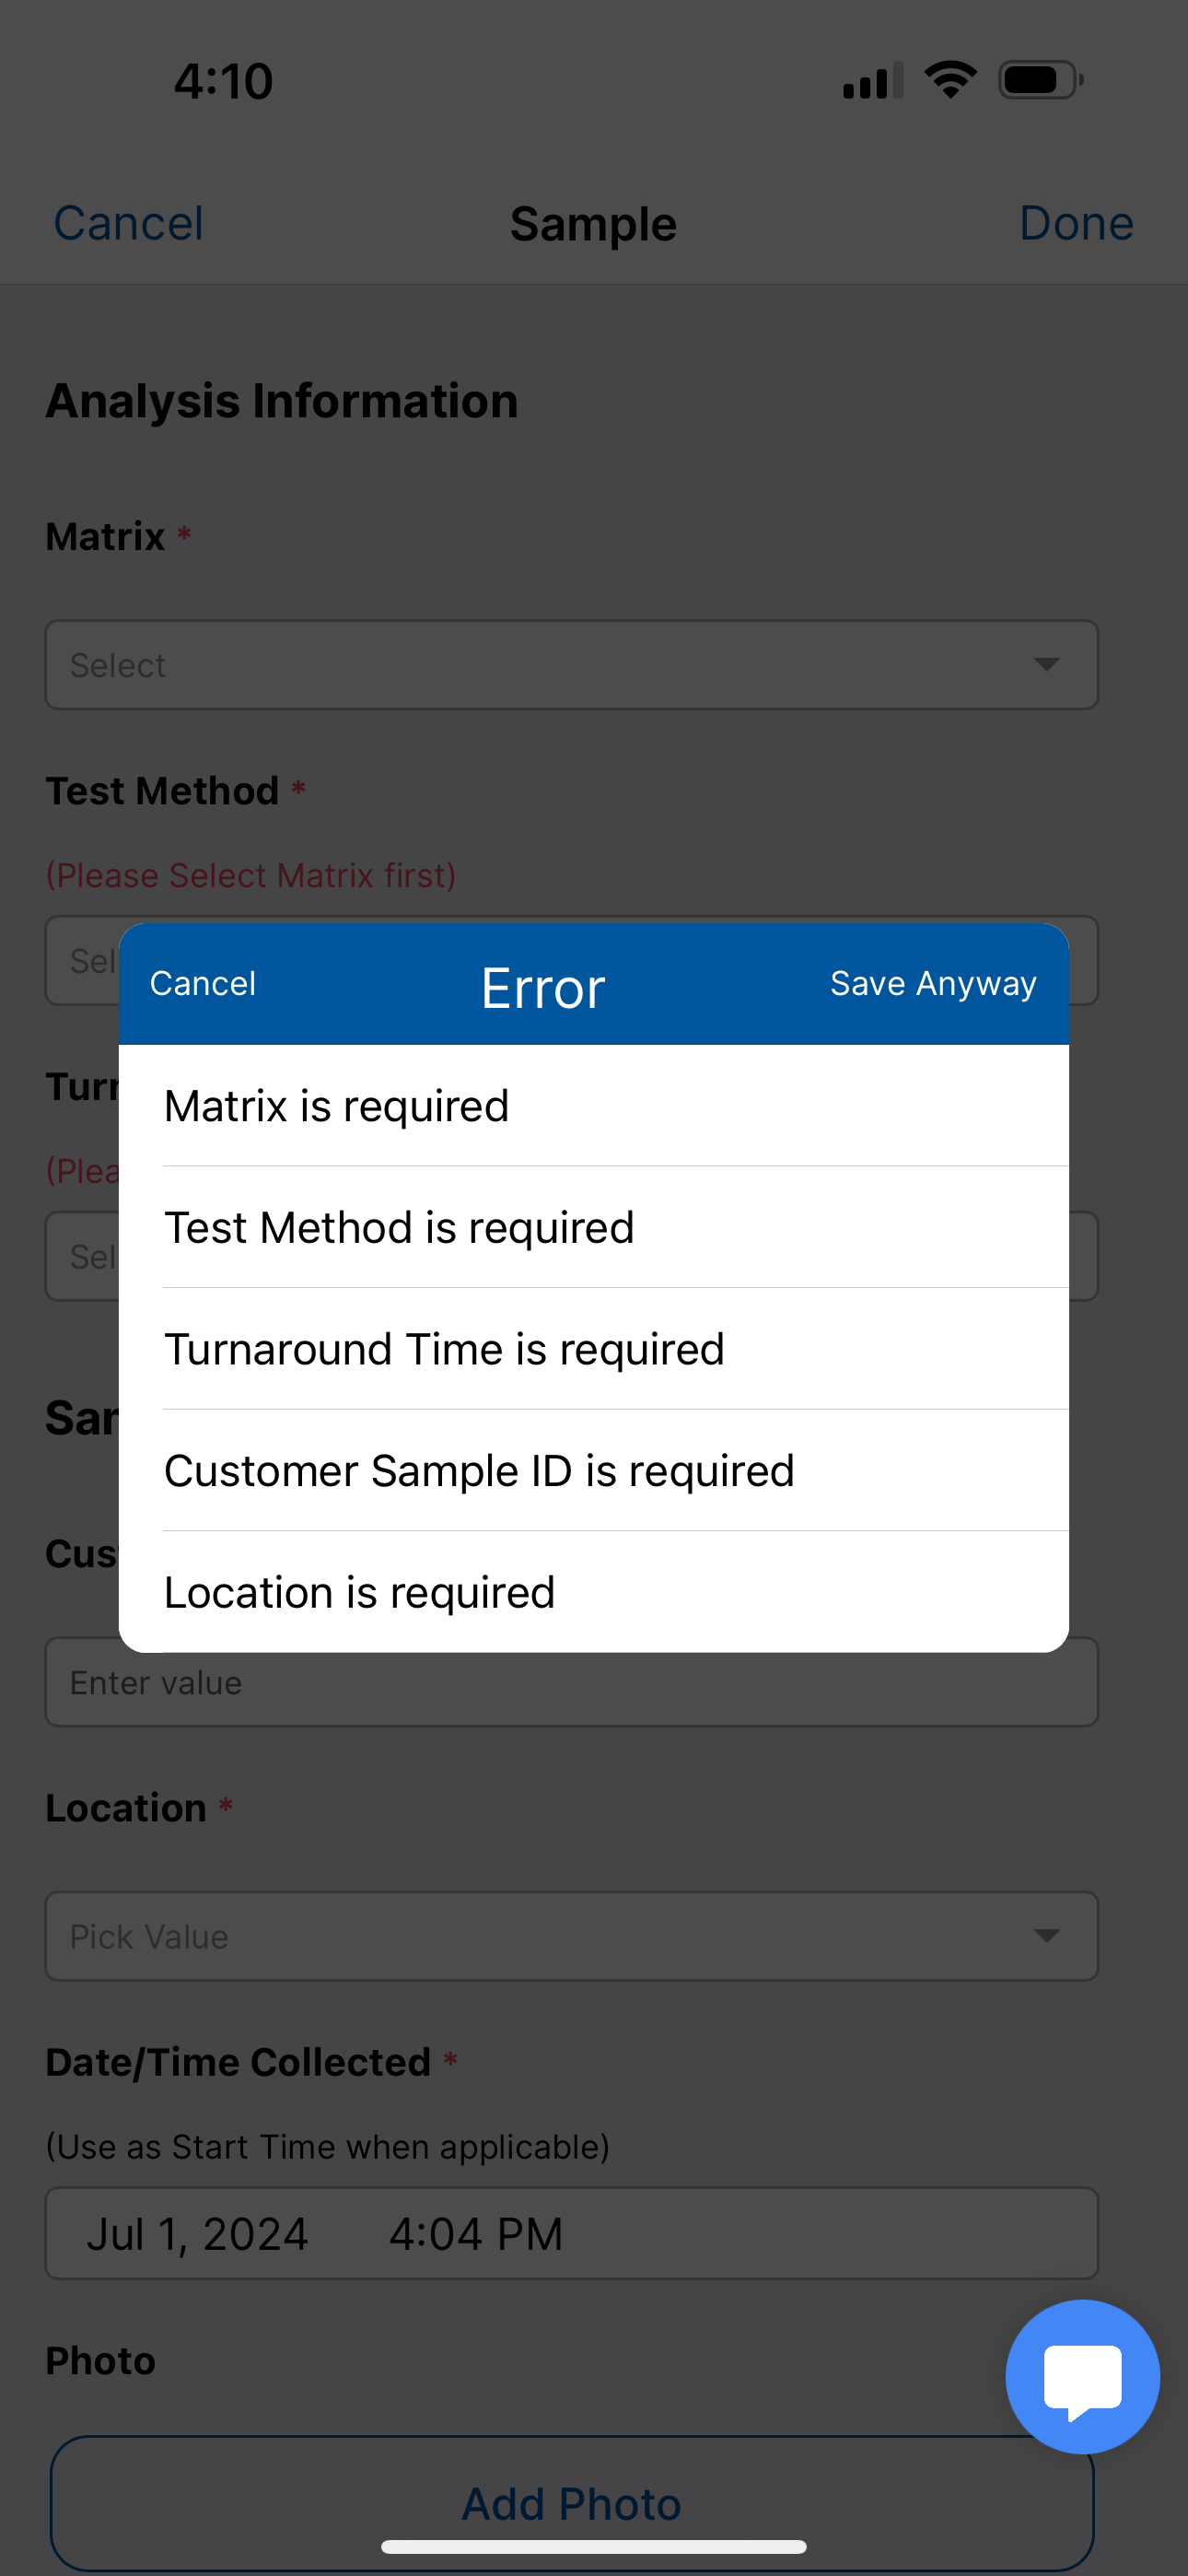
Validation
If you attempt to save a sample record with incomplete information you will get a validation warning. You can still save the sample record but you will not be able to send the inspection to a lab until the required information has been added.
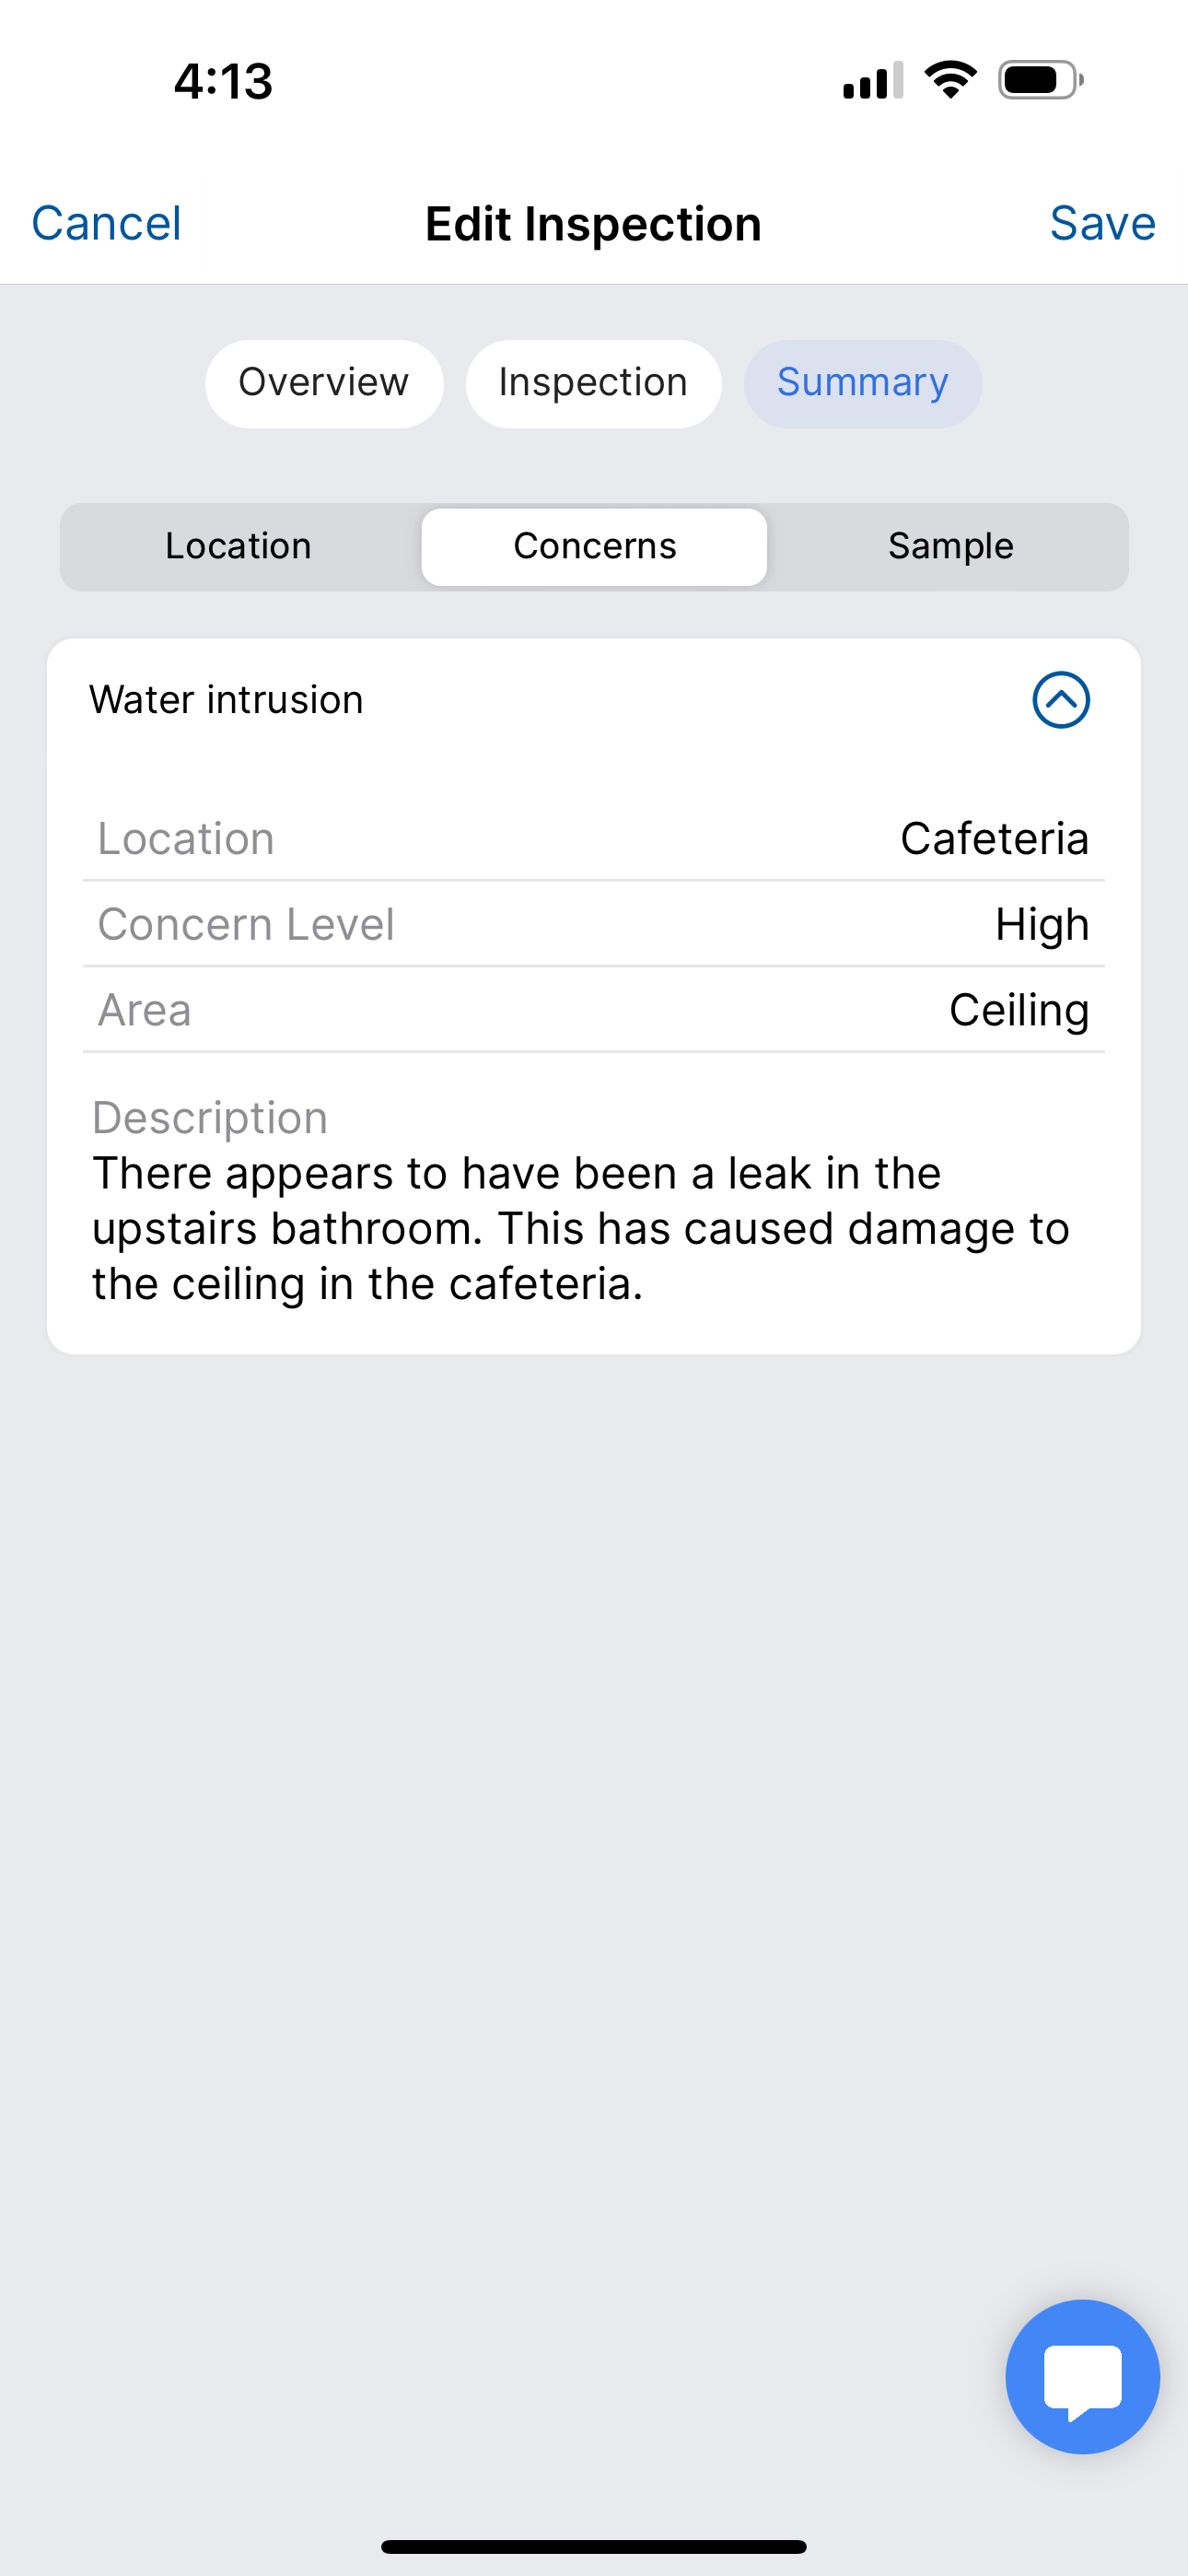
Summary
The Summary section gives you a breakdown of your data organized by Location, Concerns/Materials, and Sample. In the example below you will see the concerns broken out by location.
Saving
Once you are finished with your inspection simply tap Save in the upper right corner.
Sending to a Lab Partner
When you save your inspection, you are prompted whether you want to send your inspection to a partner lab. Select the lab and tap send. Your order will be sent to the partner lab and will now appear in your Inspection Listing. as a sent order.